


Hello. This is Ochiai, the designer.
In my last blog post, I talked about some surprisingly little-known handy features of the iPhone 7.
This time, I'd like to talk about the camera features.
1. HDR
This feature has been built into the iPhone 4 and later models. Many of you may already know about it.
It's a feature found on digital cameras, but you can use it on the iPhone as well.
Put simply, it's a feature that "compensates for backlighting and crushed blacks."
It's easy to use. Just turn on HDR, shown at the top of the screen in the Camera app.
Incidentally, because this feature combines several photos into a single finished shot, if you save them as-is, multiple photos are saved and take up more storage space.
To deal with that, go to the "Photos & Camera" settings as shown in the image below,
and turn off "Keep Normal Photo" under HDR (High Dynamic Range) at the very bottom.
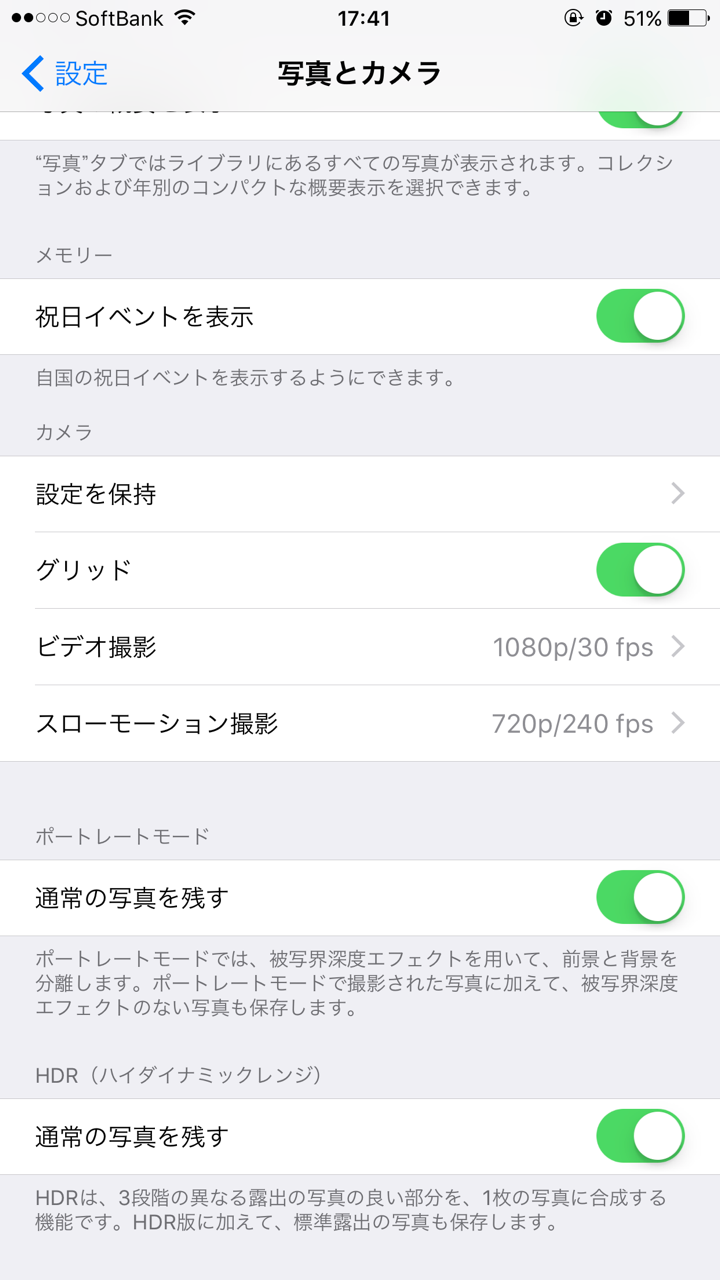
That way, only the single combined photo is saved.
Now that we've checked the save settings, let's look at an actual example of HDR shooting.
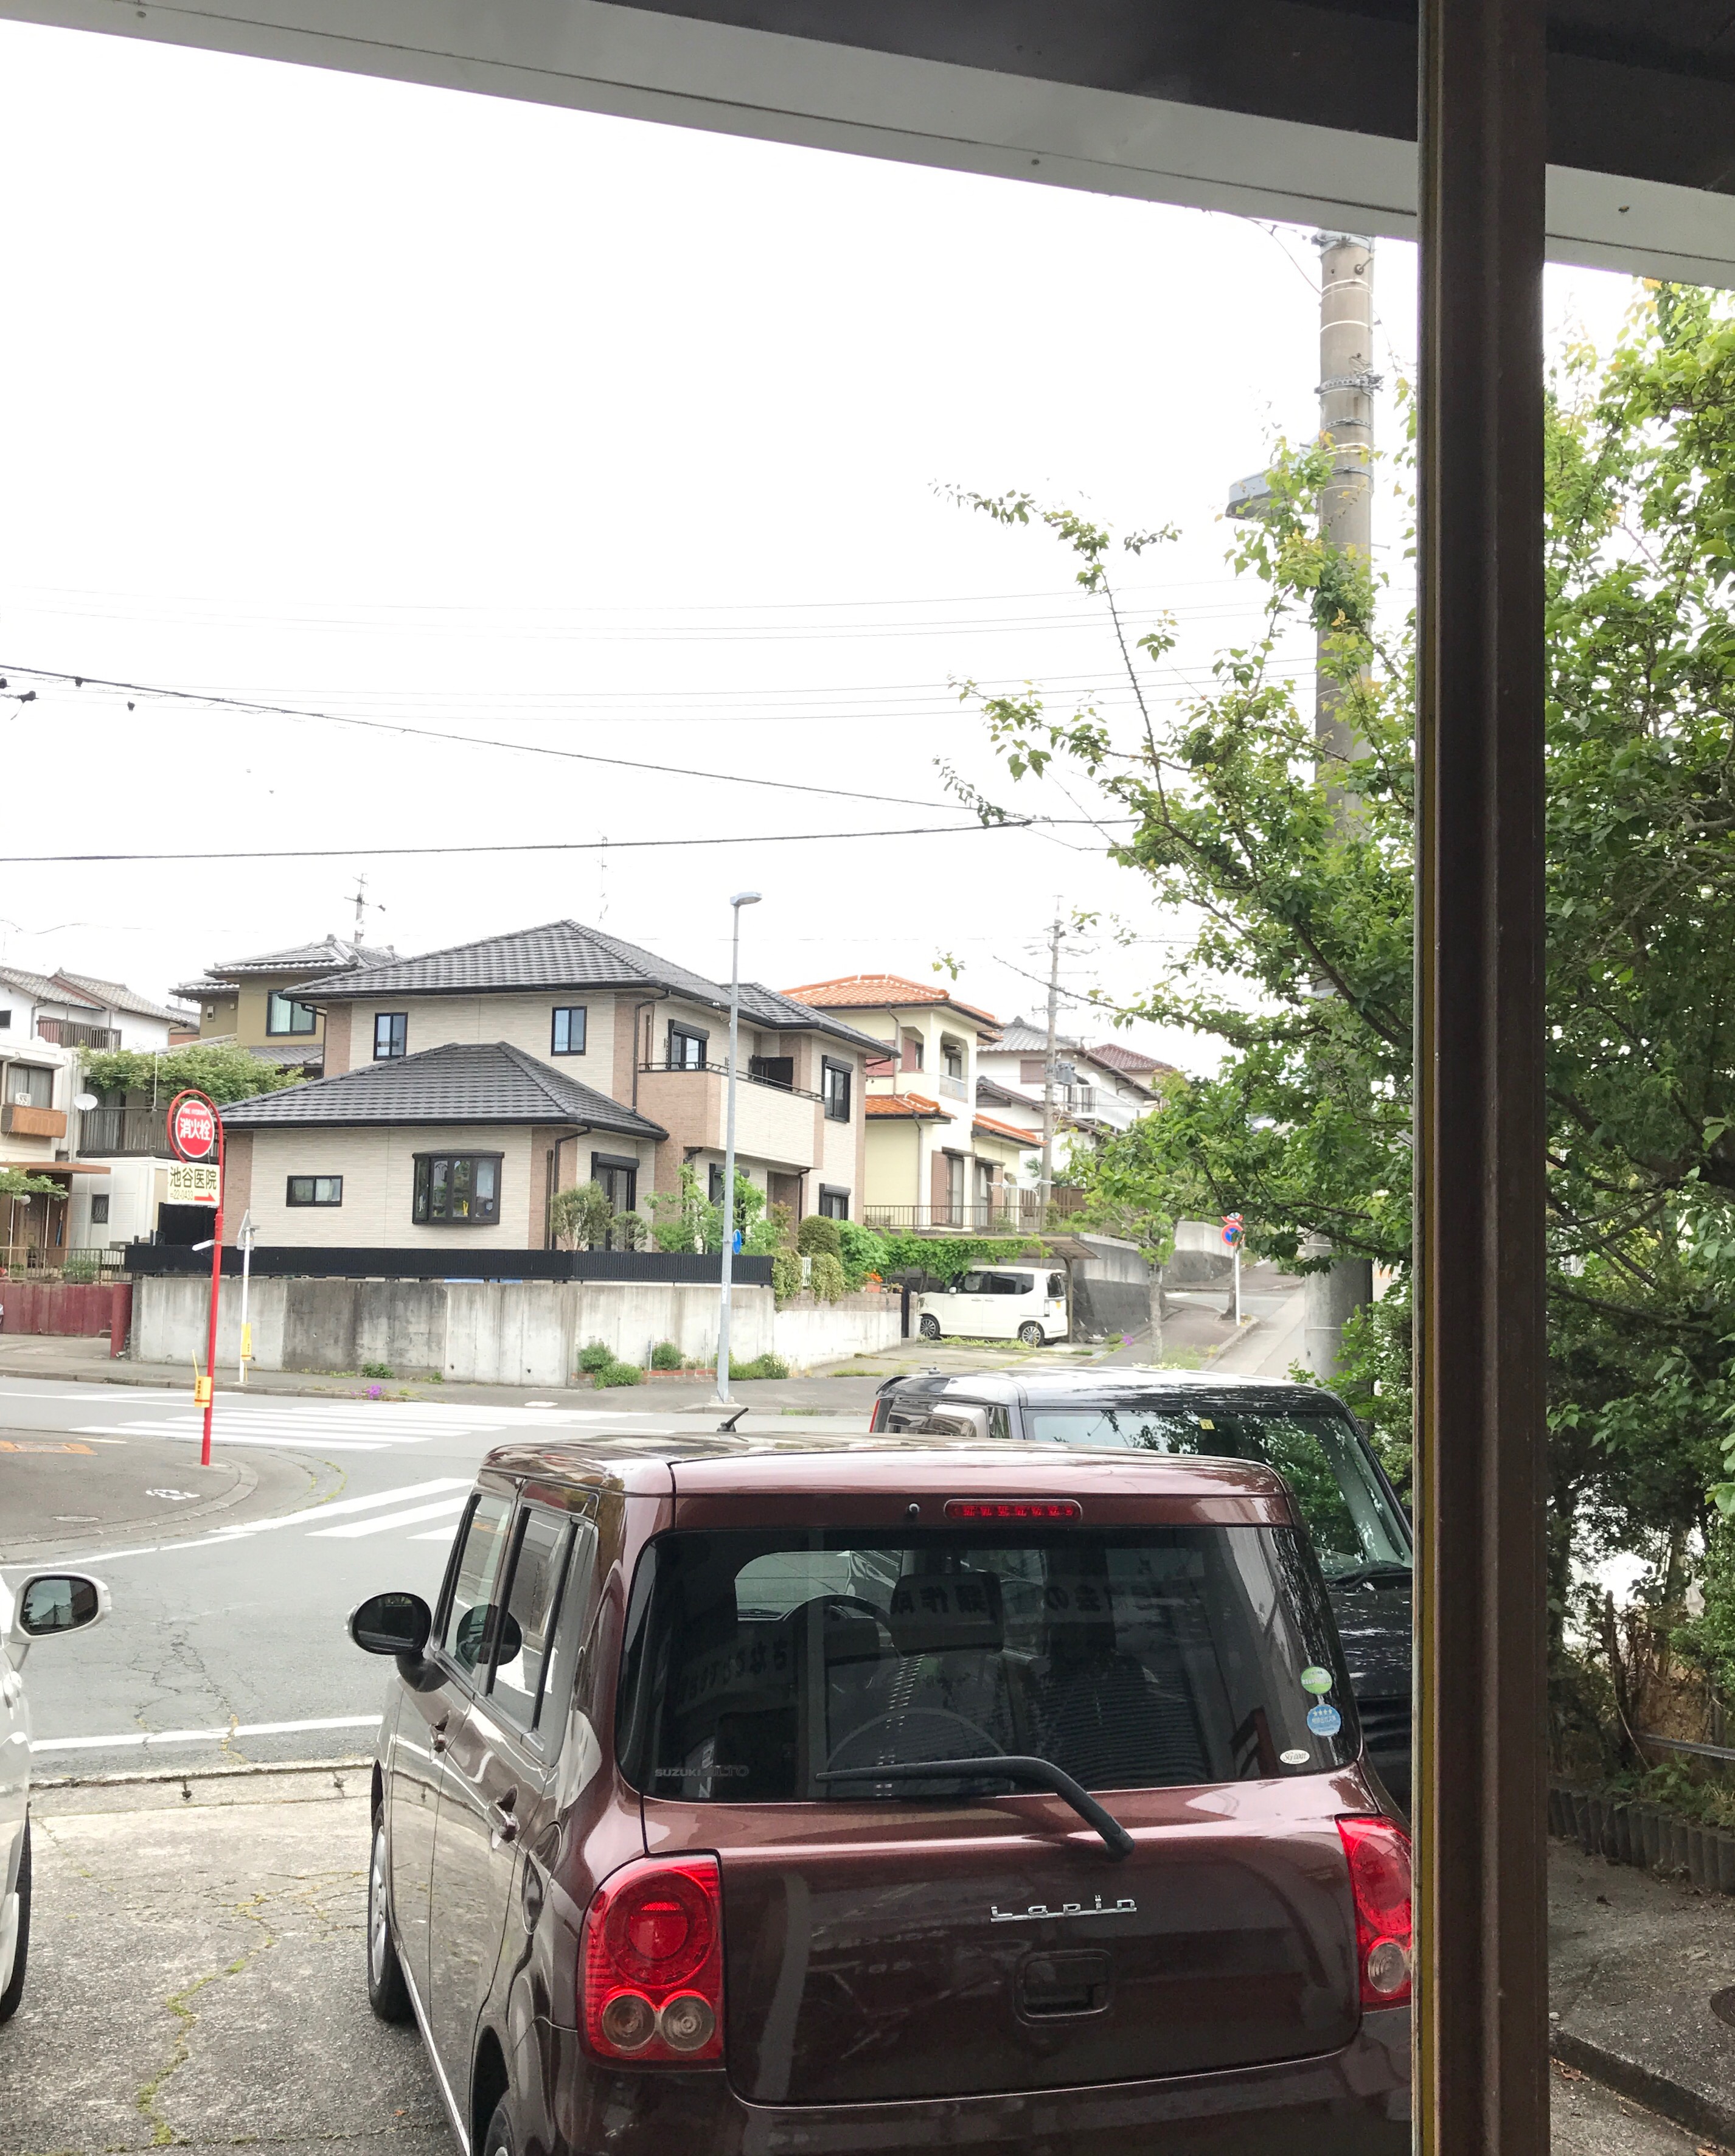
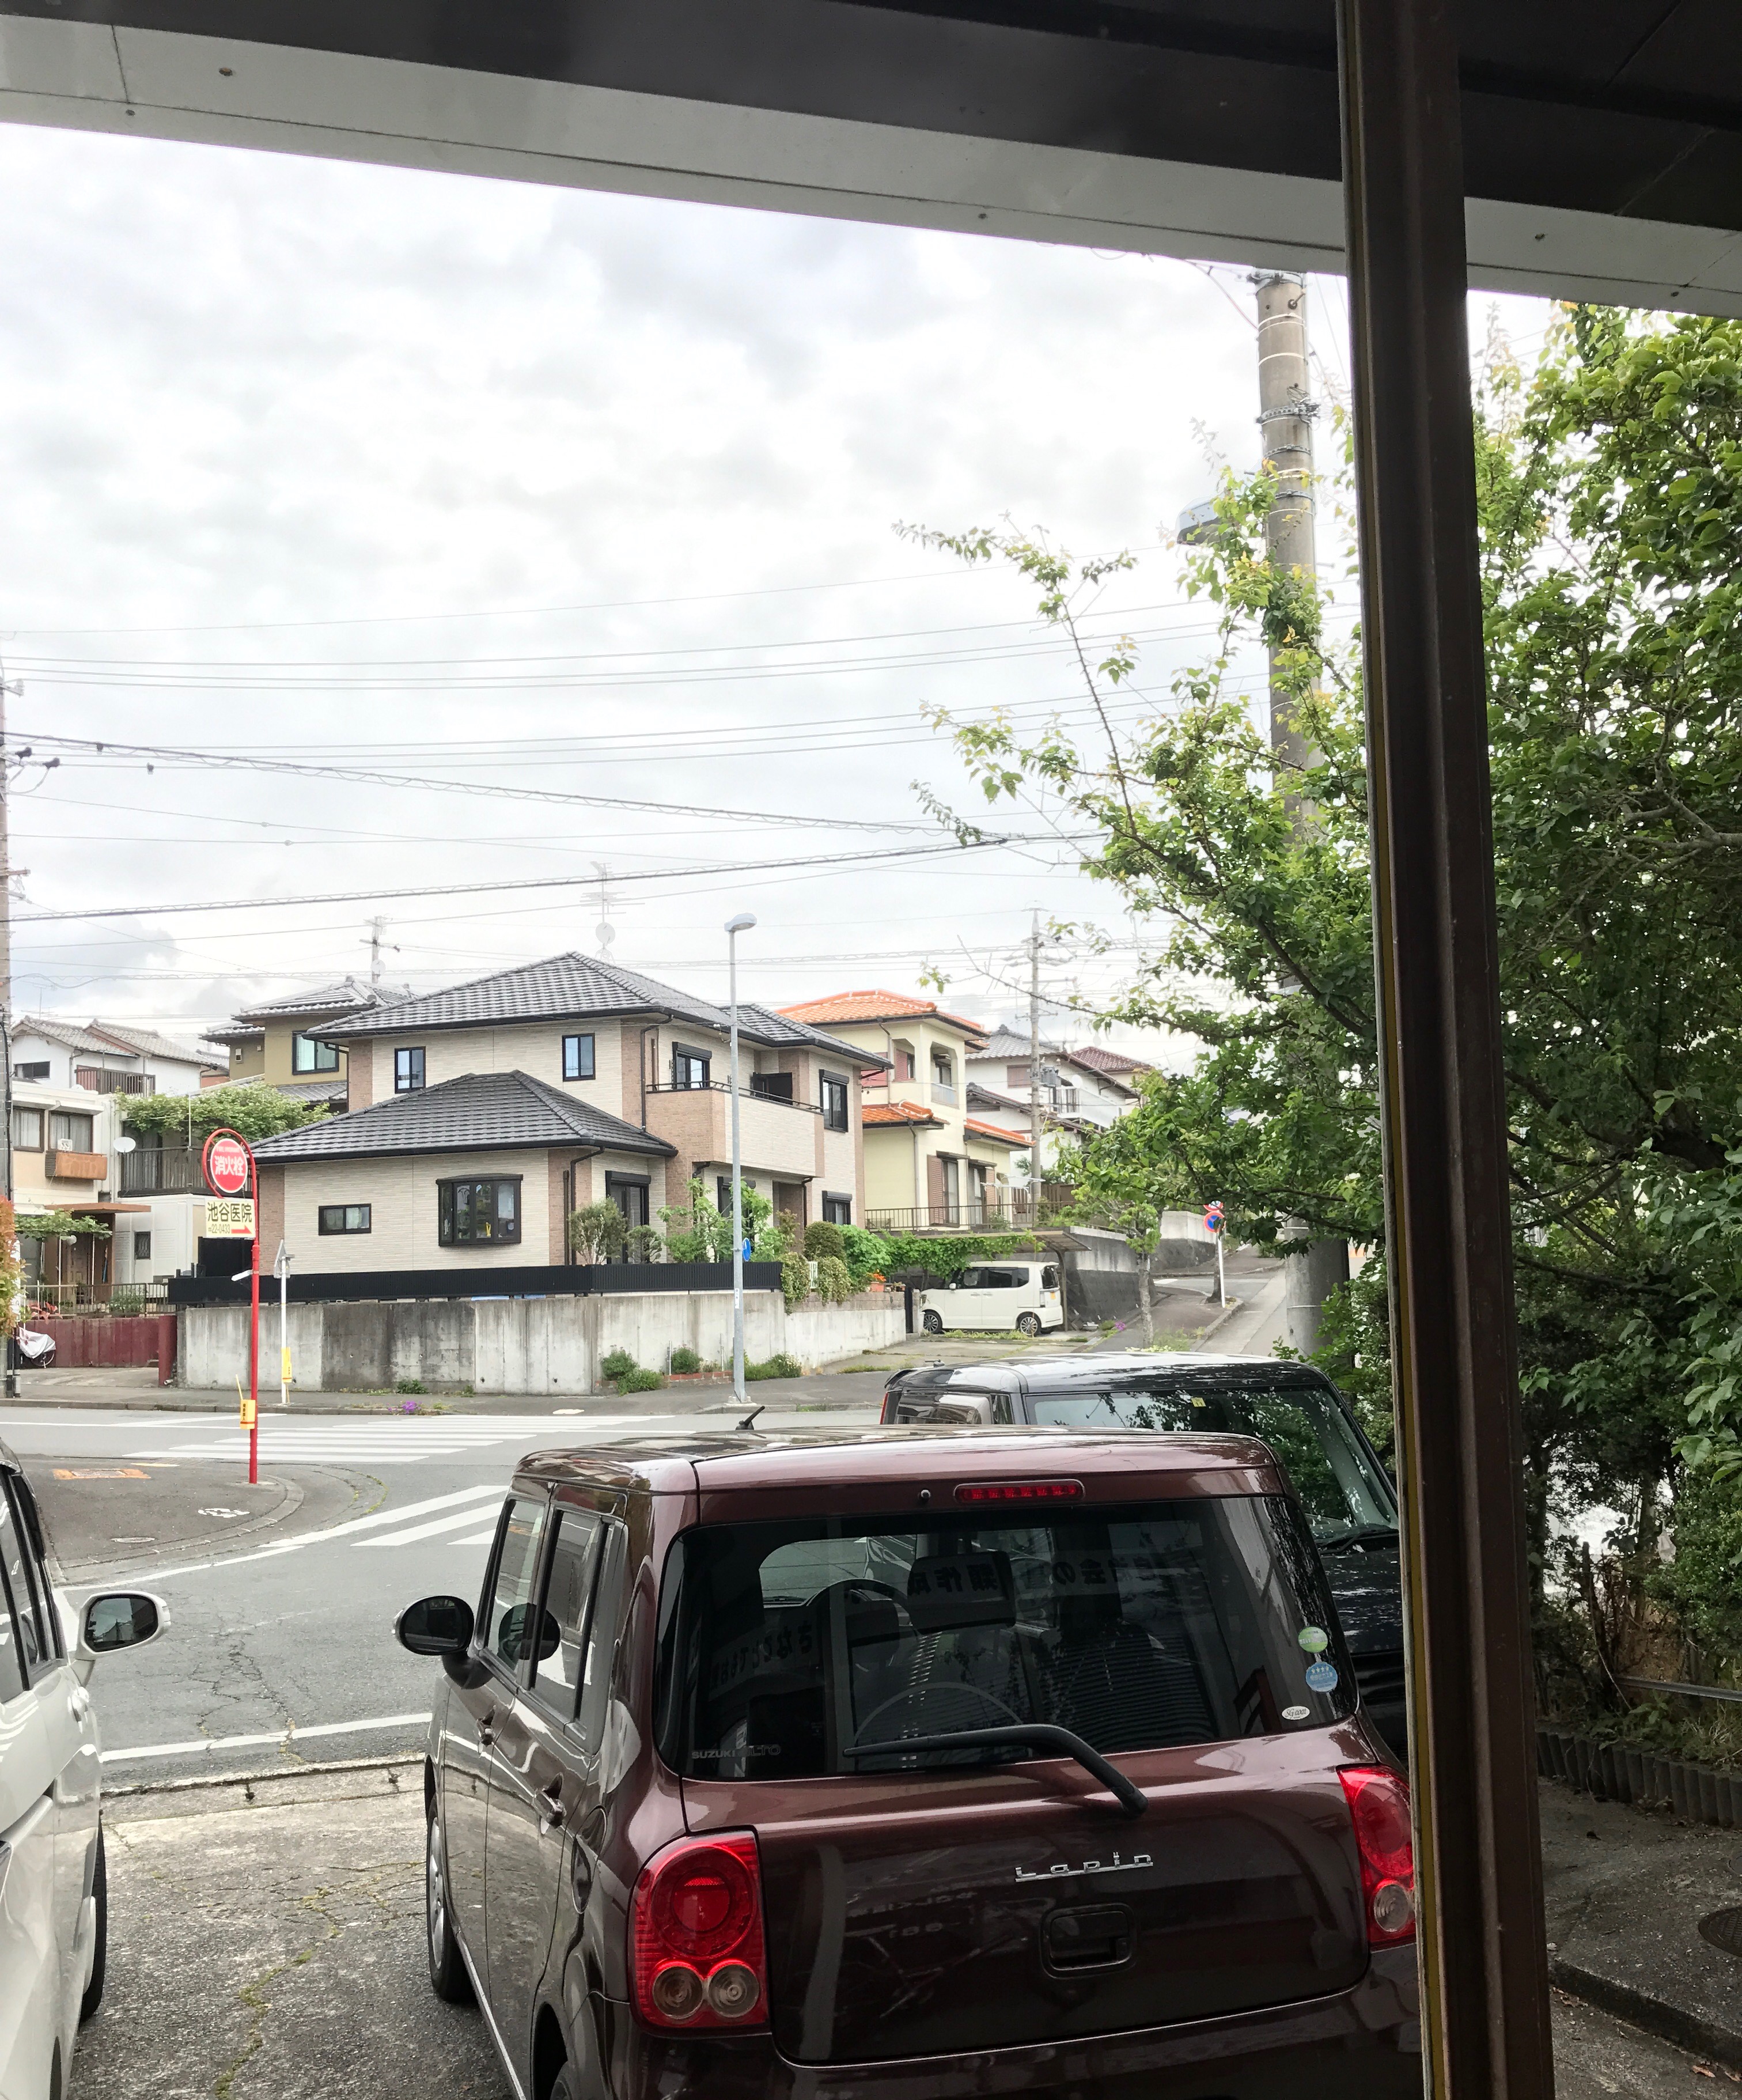
Take a look at the sky. In the photo where it was pure white with no clouds visible, using HDR brought out even the shapes of the clouds. In this way, photos that would normally be blown out can be prevented with the HDR feature.
By the way, HDR photography on a camera and HDR on a TV are two different things. HDR on TVs is a new standard for improved picture quality that goes beyond 4K.
2. Portrait mode
Portrait mode is available on iOS 10 and later.
What does it do? It lets you blur the background just like a DSLR.
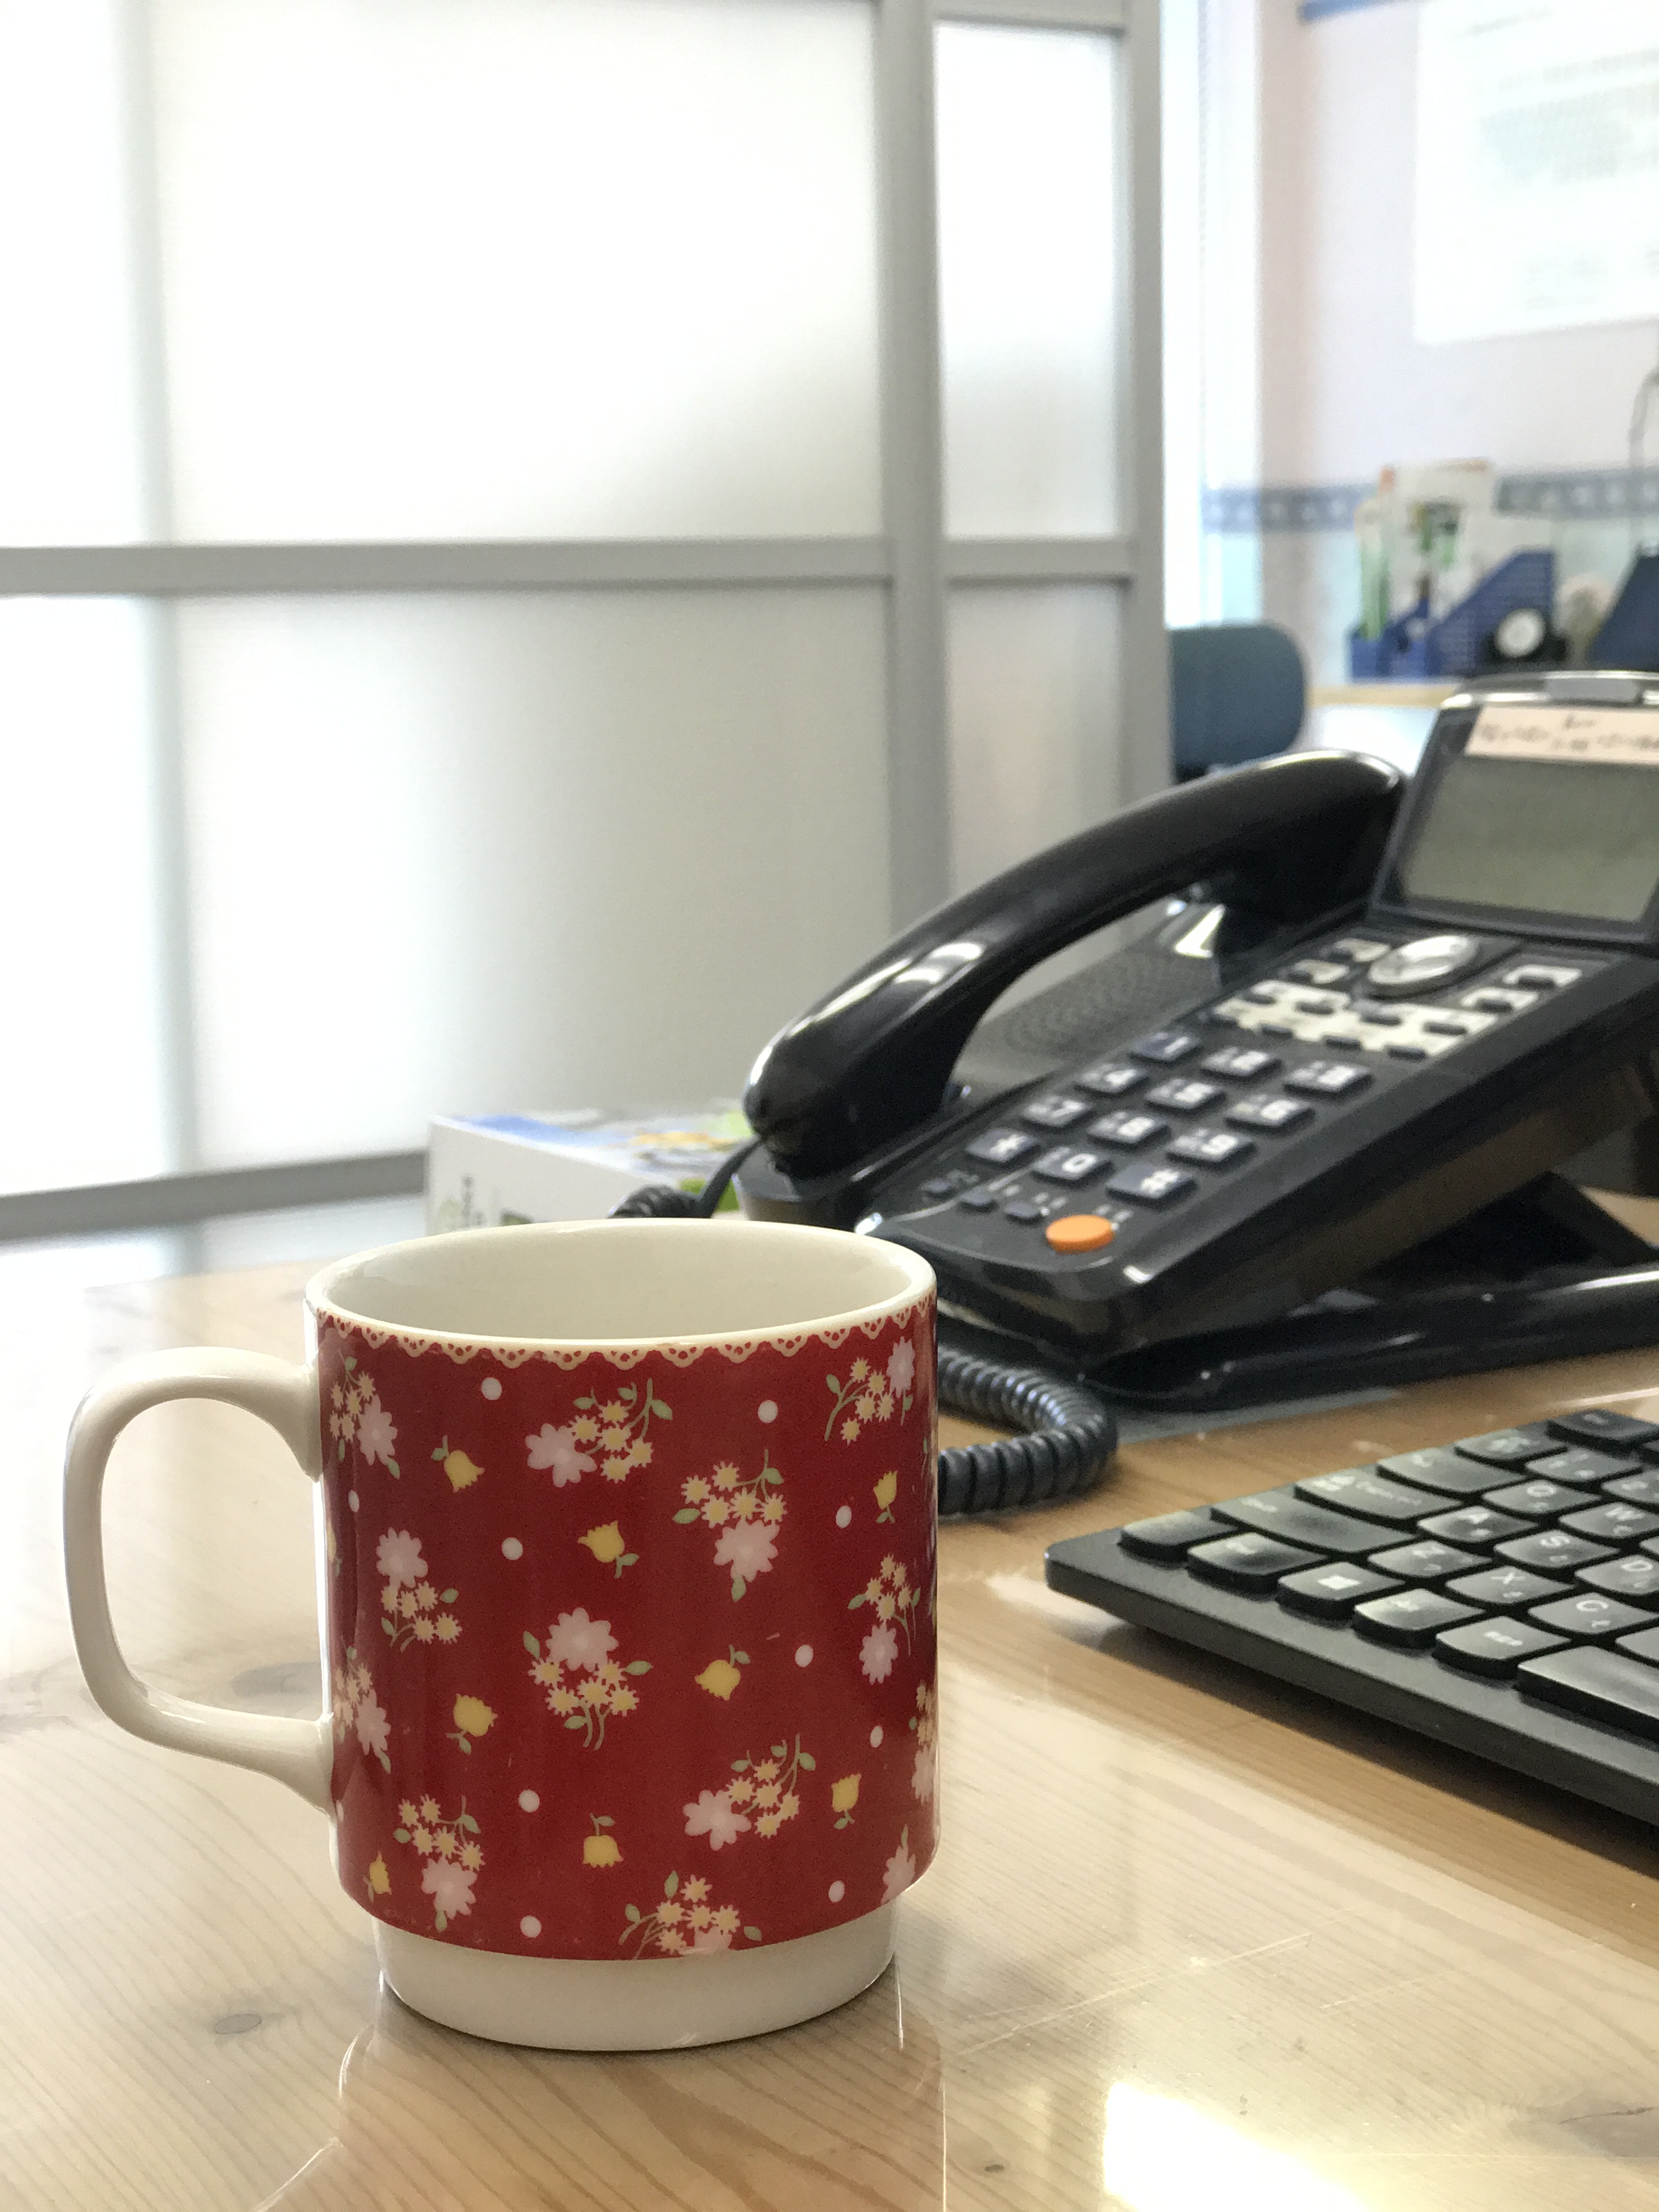
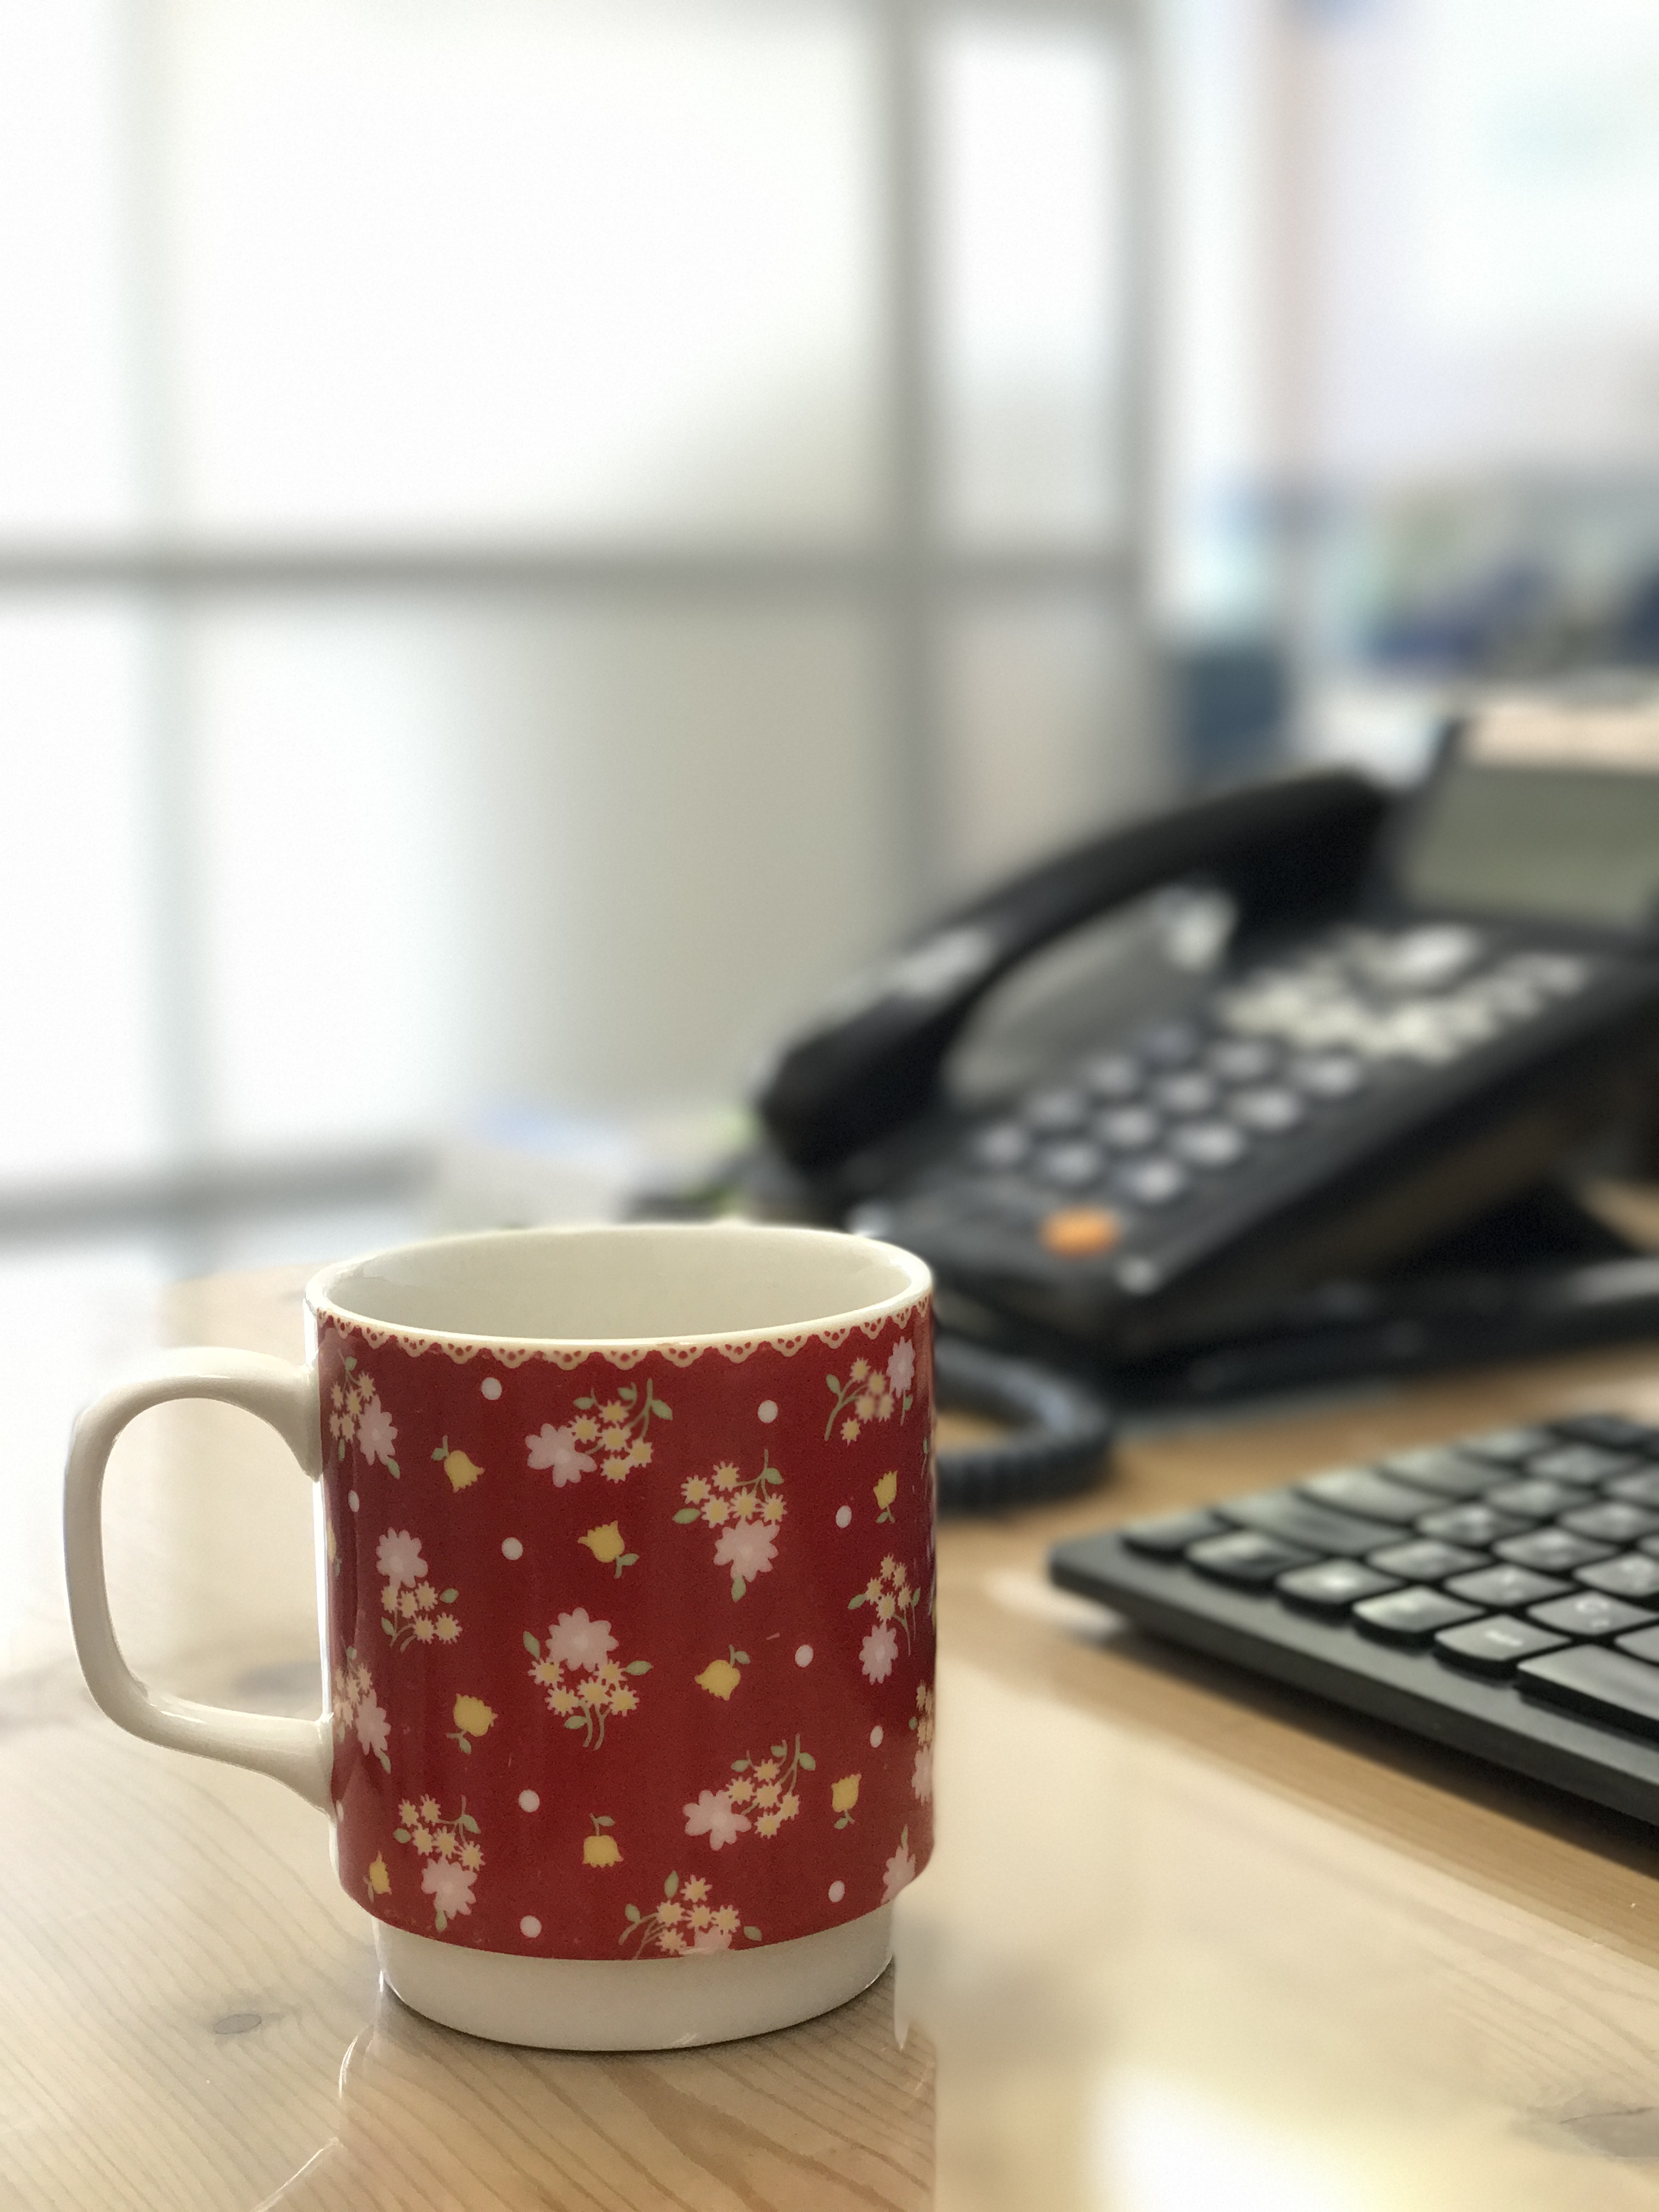
The first photo was taken normally. The second was taken using Portrait mode. You can see the background is blurred.
As with HDR, if you turn off the "Keep Normal Photo" setting, only the blurred photo will be saved. If you turn it on, both the photo without background blur and the one with it will be saved.
Unfortunately, though, this feature can only be used on the iPhone 7 Plus.
So does that mean you can't take photos with that lovely blur unless you have an iPhone 7 Plus?
Don't worry. You can do it with the iPhone's basic features if you get a little creative, and there are actually apps that make it easy to create that blur effect! I'd like to introduce those next time (*^_^*)
3. Shooting in RAW
This one really surprised me... The photos you normally take with your smartphone are mainly JPEGs. To explain JPEG in terms of the features above, it's the composited photo—in other words, a single finished image.
RAW, on the other hand, is like the multiple photos before compositing: it's in an unfinished state, so you can edit it freely. If you have knowledge of photo editing, a wide range of adjustments is possible.
This was originally a feature found on DSLRs and digital cameras. Most professional photographers shoot in RAW. Professionals can take high-quality photos without any editing, but shooting in RAW also serves as insurance for when something goes wrong.
However, to shoot and process RAW on an iPhone, you need a dedicated app.
I'd like to cover that in my next blog post as well.
As you can see, smartphone cameras are evolving dramatically.
The iPhone 7 Plus even comes with a telephoto lens at last, greatly making up for the weaknesses of smartphone lenses.
If you want to get serious about photography, nothing beats a DSLR, but smartphone photos are convenient and very well suited to modern lifestyles, such as posting to blogs.
These days many people only have a smartphone and don't own a camera, and with the spread of social media, I get the sense that "how good a photo you can take with your smartphone" is what's in demand.
That's exactly why we should master our smartphone's features and take great photos!


