


"I've only just opened my shop, so I don't have a website yet..."
If that's your situation, use Google's new service, Website Builder, to whip up a website in no time!
In this article, we'll walk you through the steps for creating a website with Website Builder.
To begin with, what happens if you don't have a website?
(You may think it's a bit late to ask, but...) To begin with, what happens if you don't have a website? What specific disadvantages are there? Let's go over them again.
Something like that, right?
Recently, Google often posts information such as shop names and locations automatically, so it's become rare for a search on a shop's name to turn up "no information at all."
Even so, information like the business hours, regular holidays and photos mentioned above has to be posted by you, the shop owner. Of course, the better approach is to set up a website and regularly post not only the information prospective customers need but also content that encourages them to visit. But let's start by making sure your basic information is properly listed!
Website Builder is inside Google My Business
Now, let's get right into how to make one. This time, we'll create a page for "Merci PC School Kakegawa Campus."
As an aside, Merci PC School of course already has a website... but there's absolutely nothing wrong with making another one separately.
Just log in to Google My Business and enter the necessary information!

To use Google My Business, you first need to verify the listed business and yourself as its owner.
This article assumes you have already completed that step.
Once you have logged in, click the [Info] menu in the left sidebar.
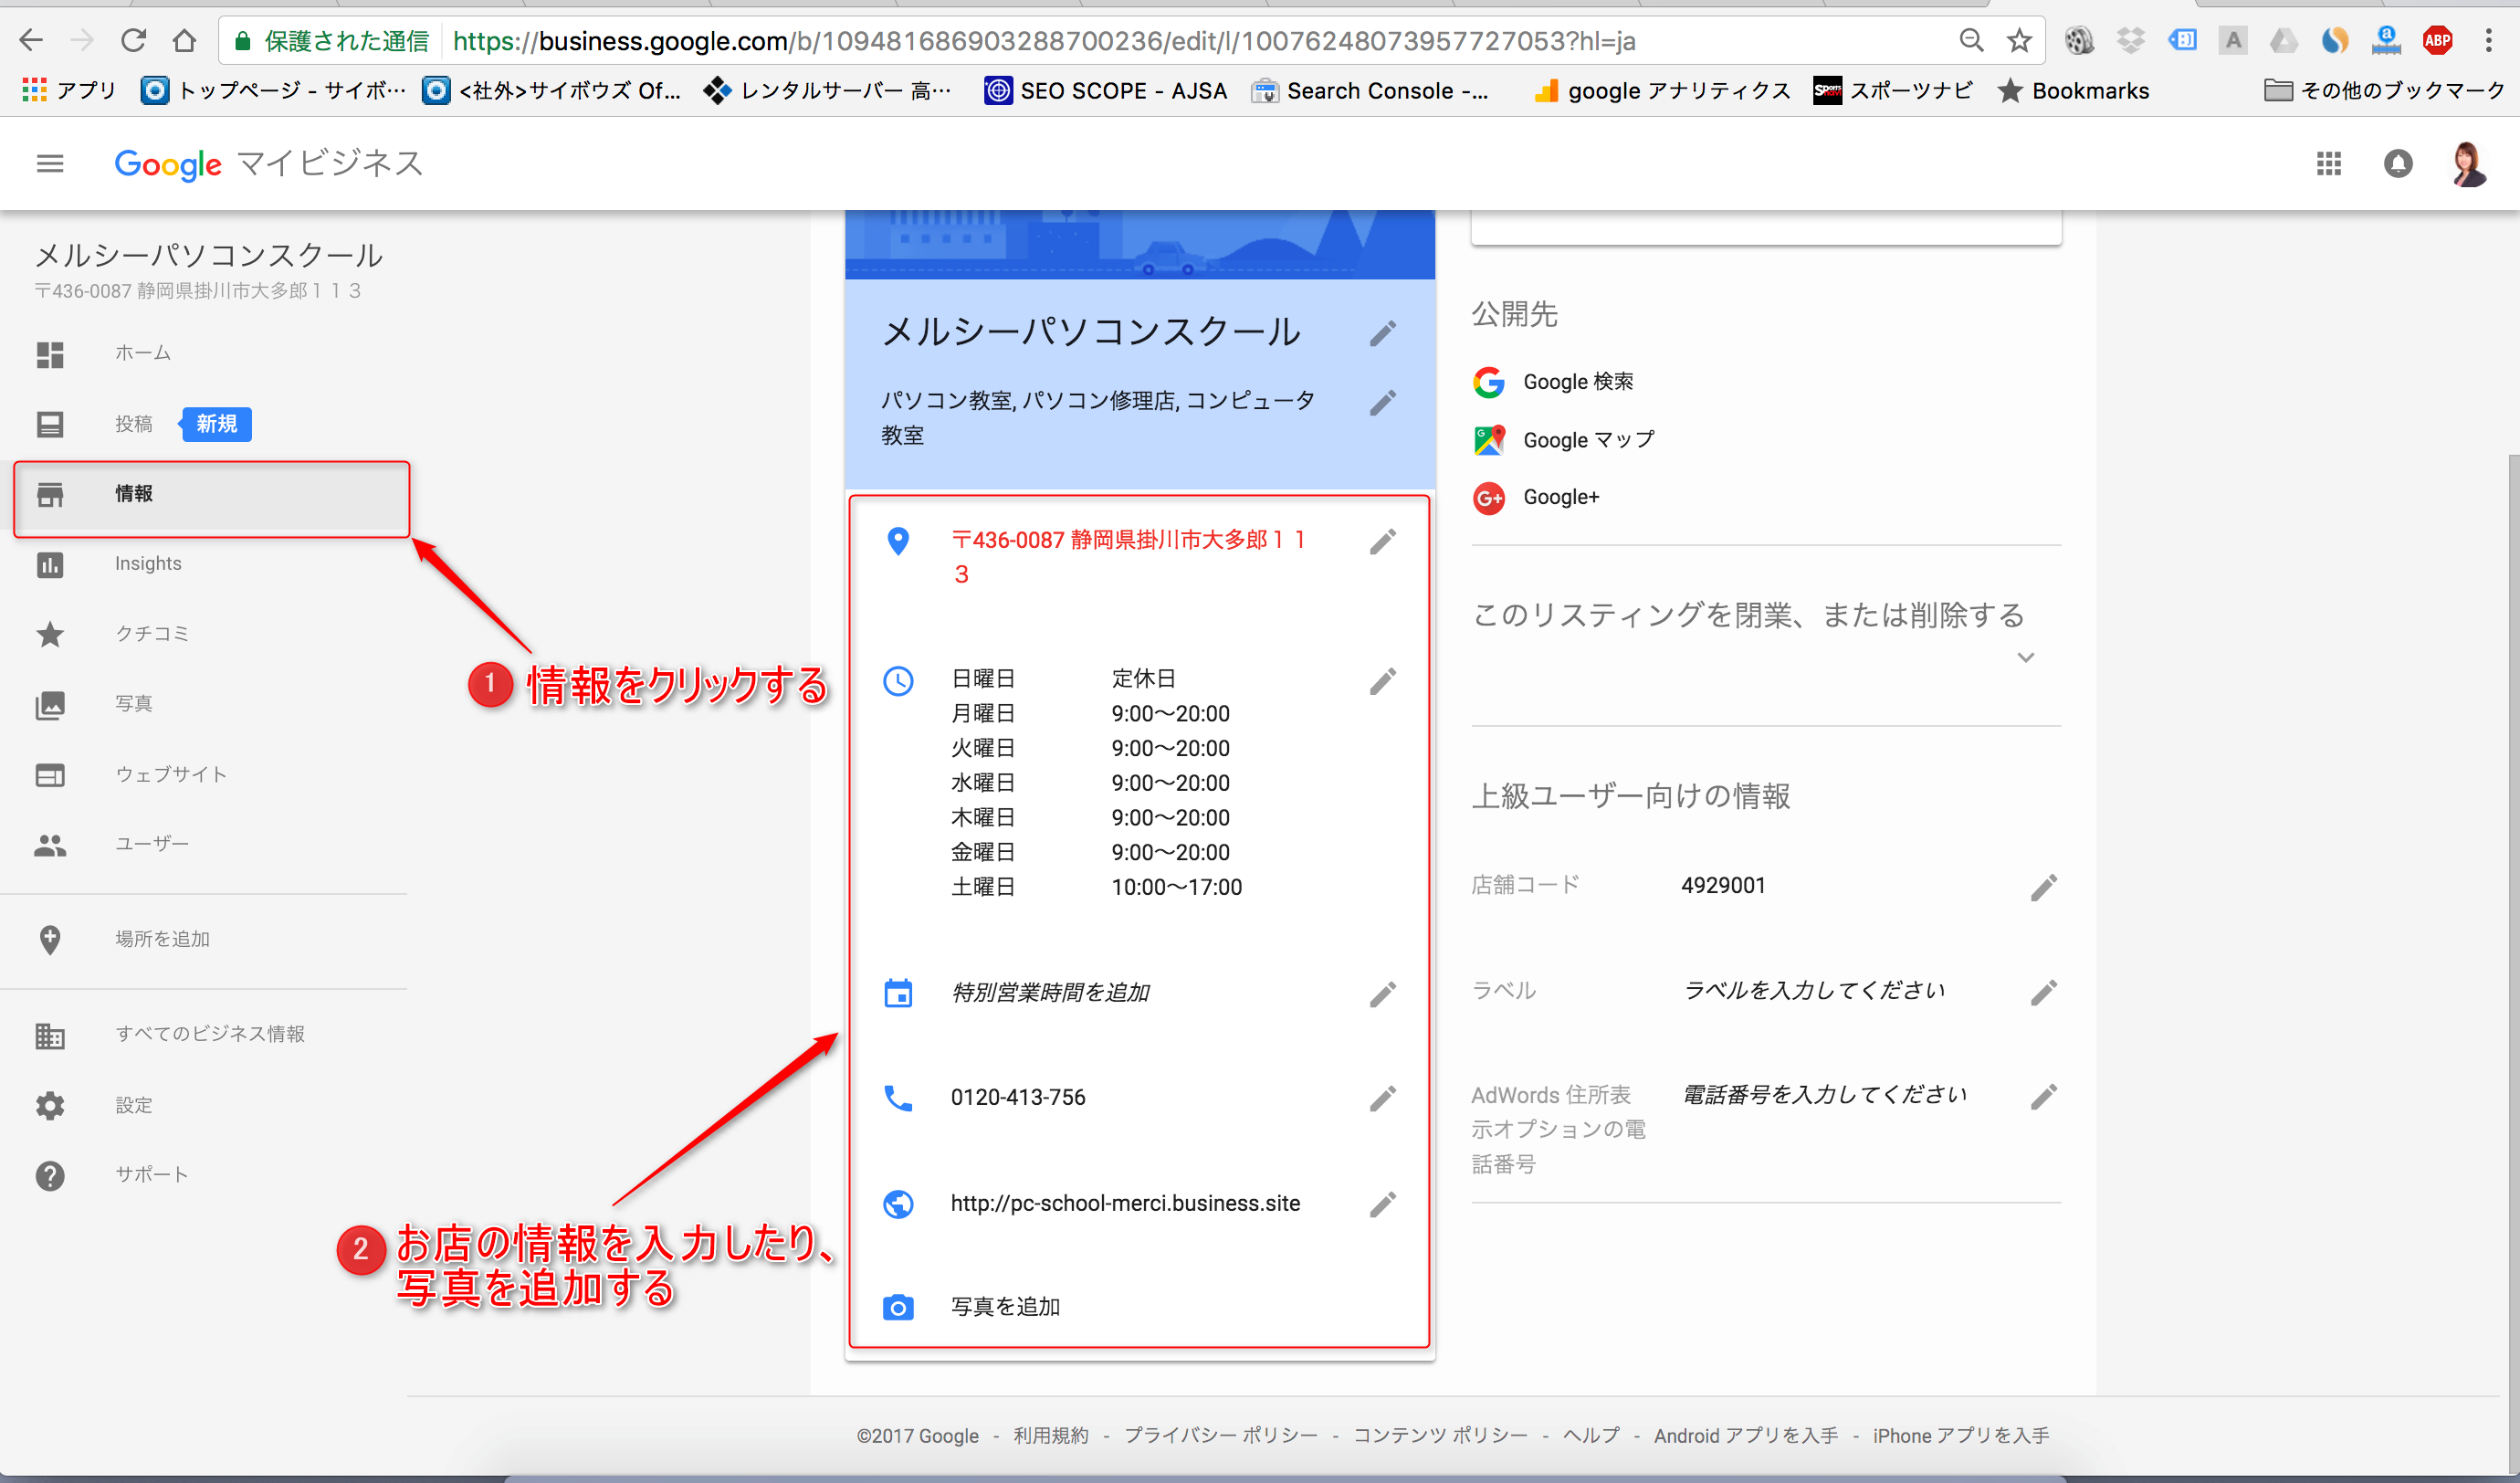
The items you should fill in here are: business name (if you want to change the name you registered earlier), business category, location (address), business days (opening hours and regular holidays), phone number, and photos (you can upload plenty of photos, such as the exterior, interior, menu and staff).
Note that the business information and photos you enter here will be reflected on the website you are about to create. Be sure to enter the correct information in advance.
To enter information, click the [pencil icon] displayed to the right of each item.
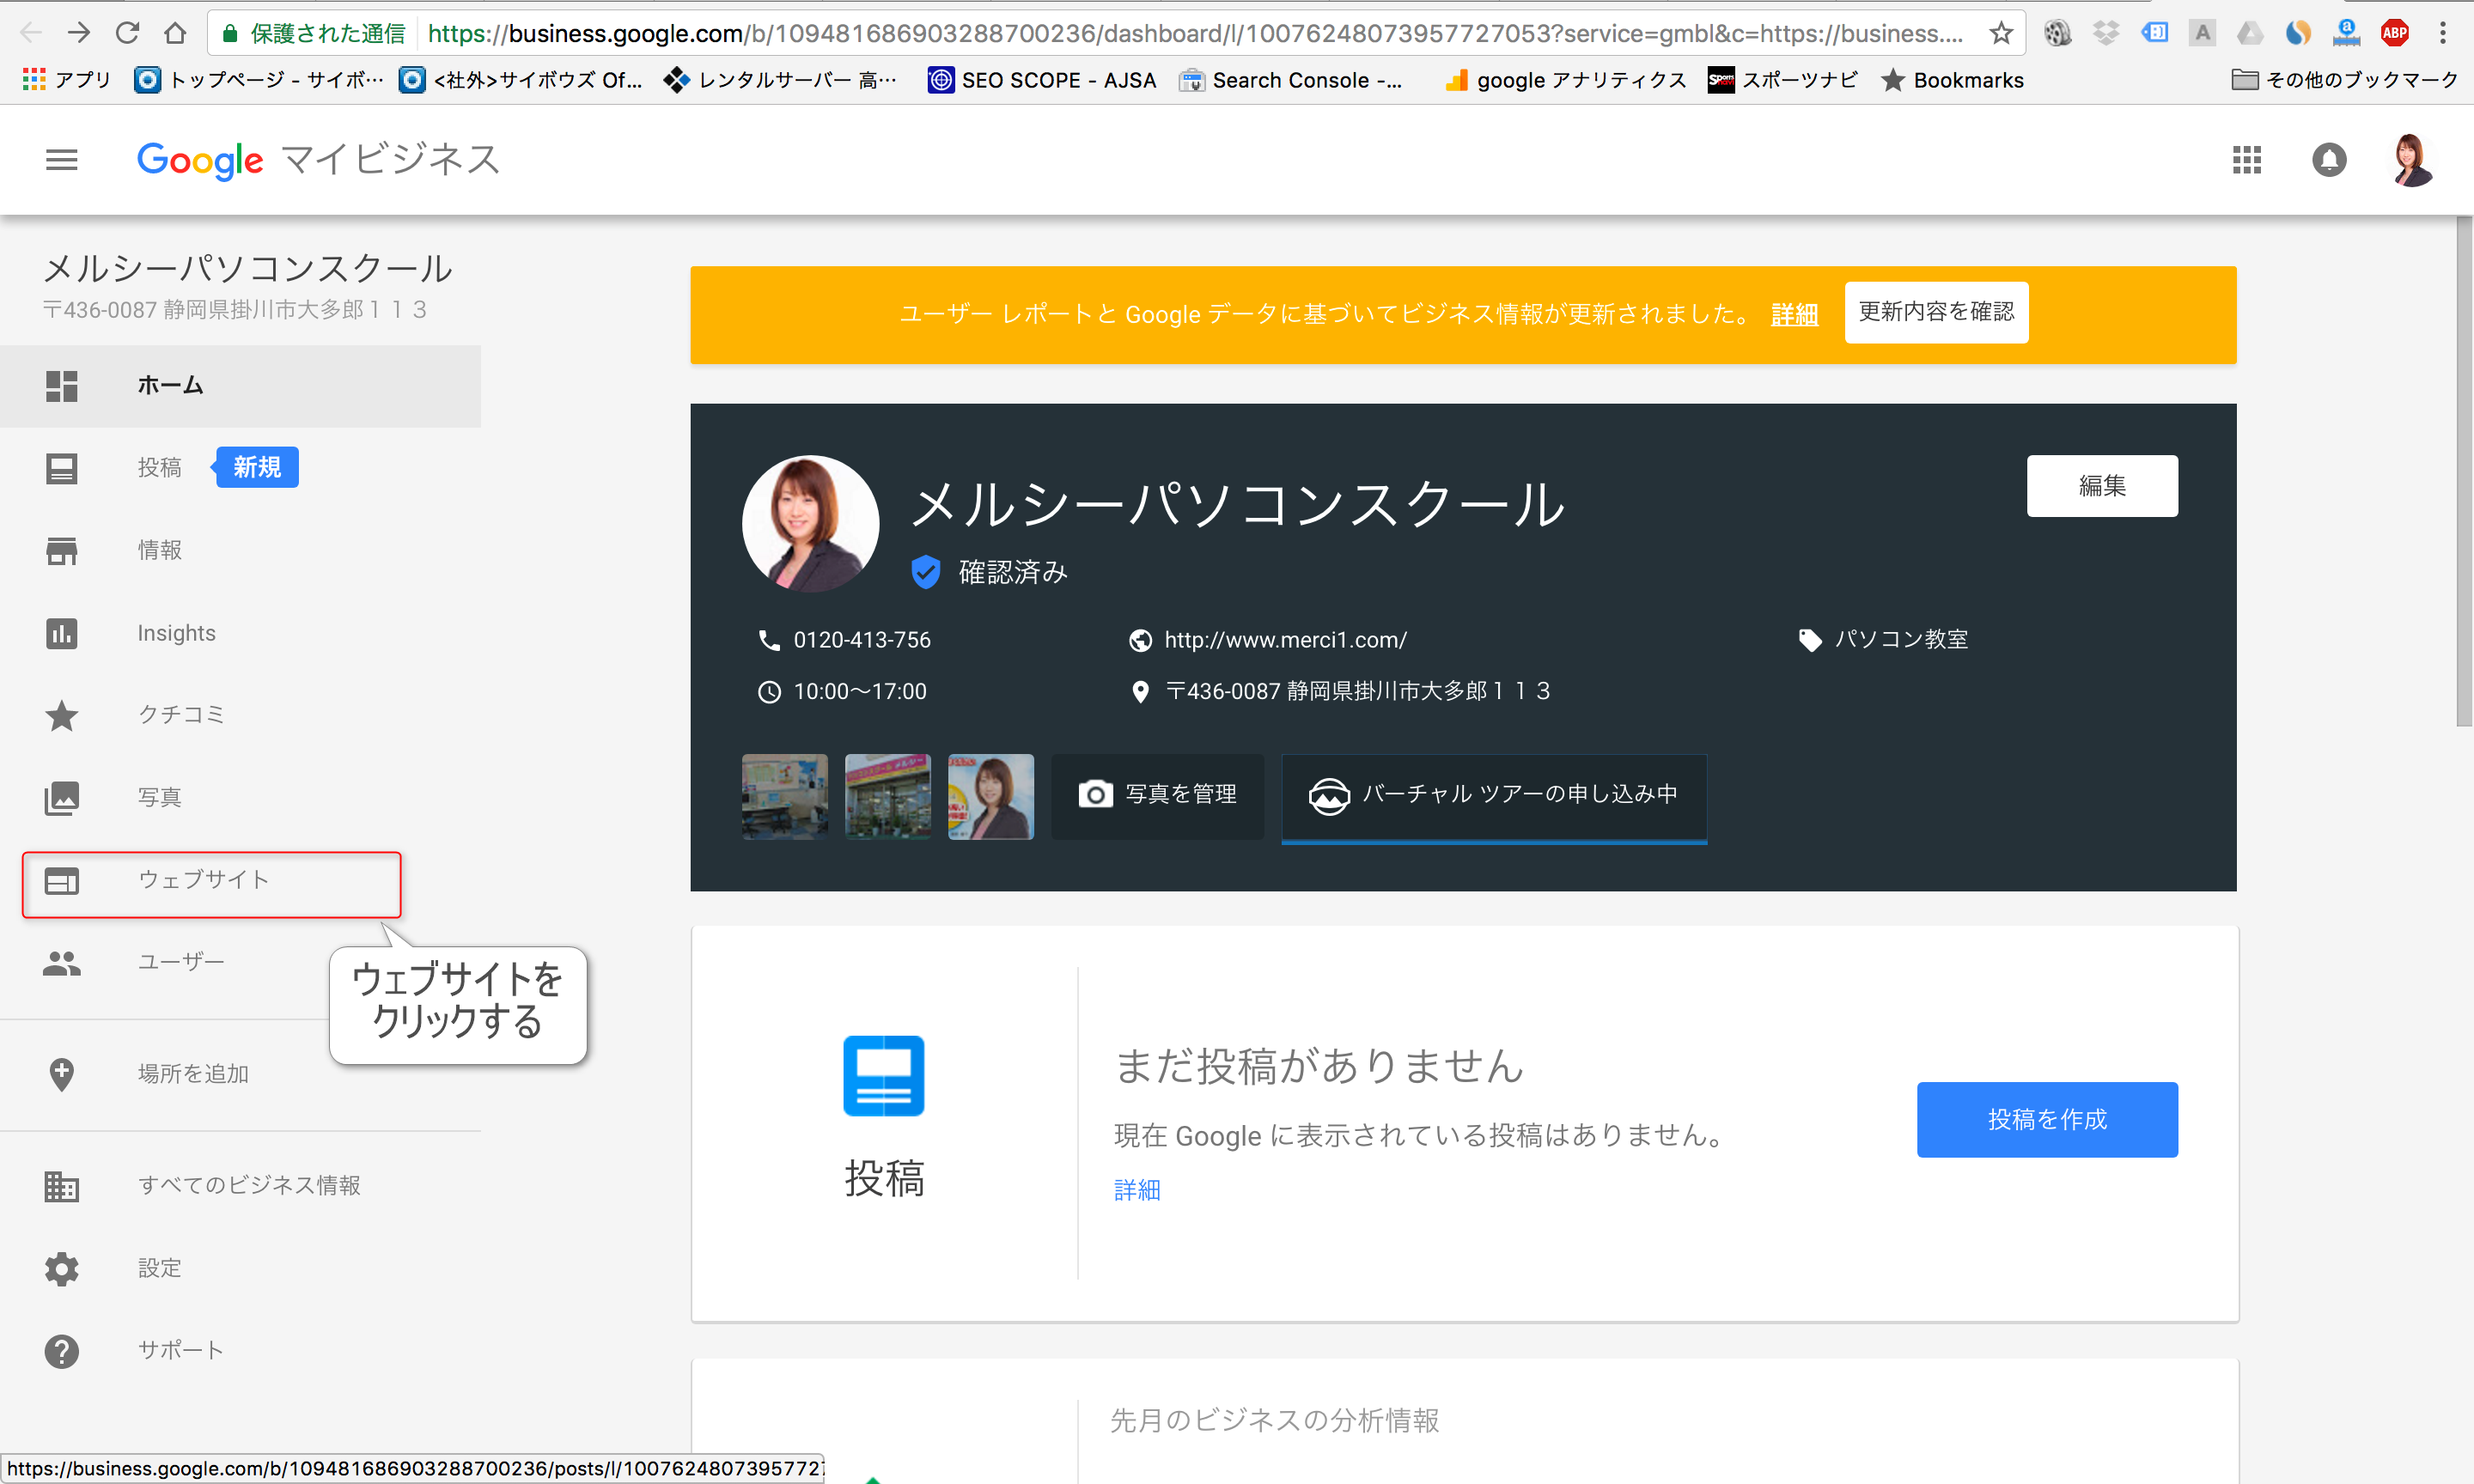
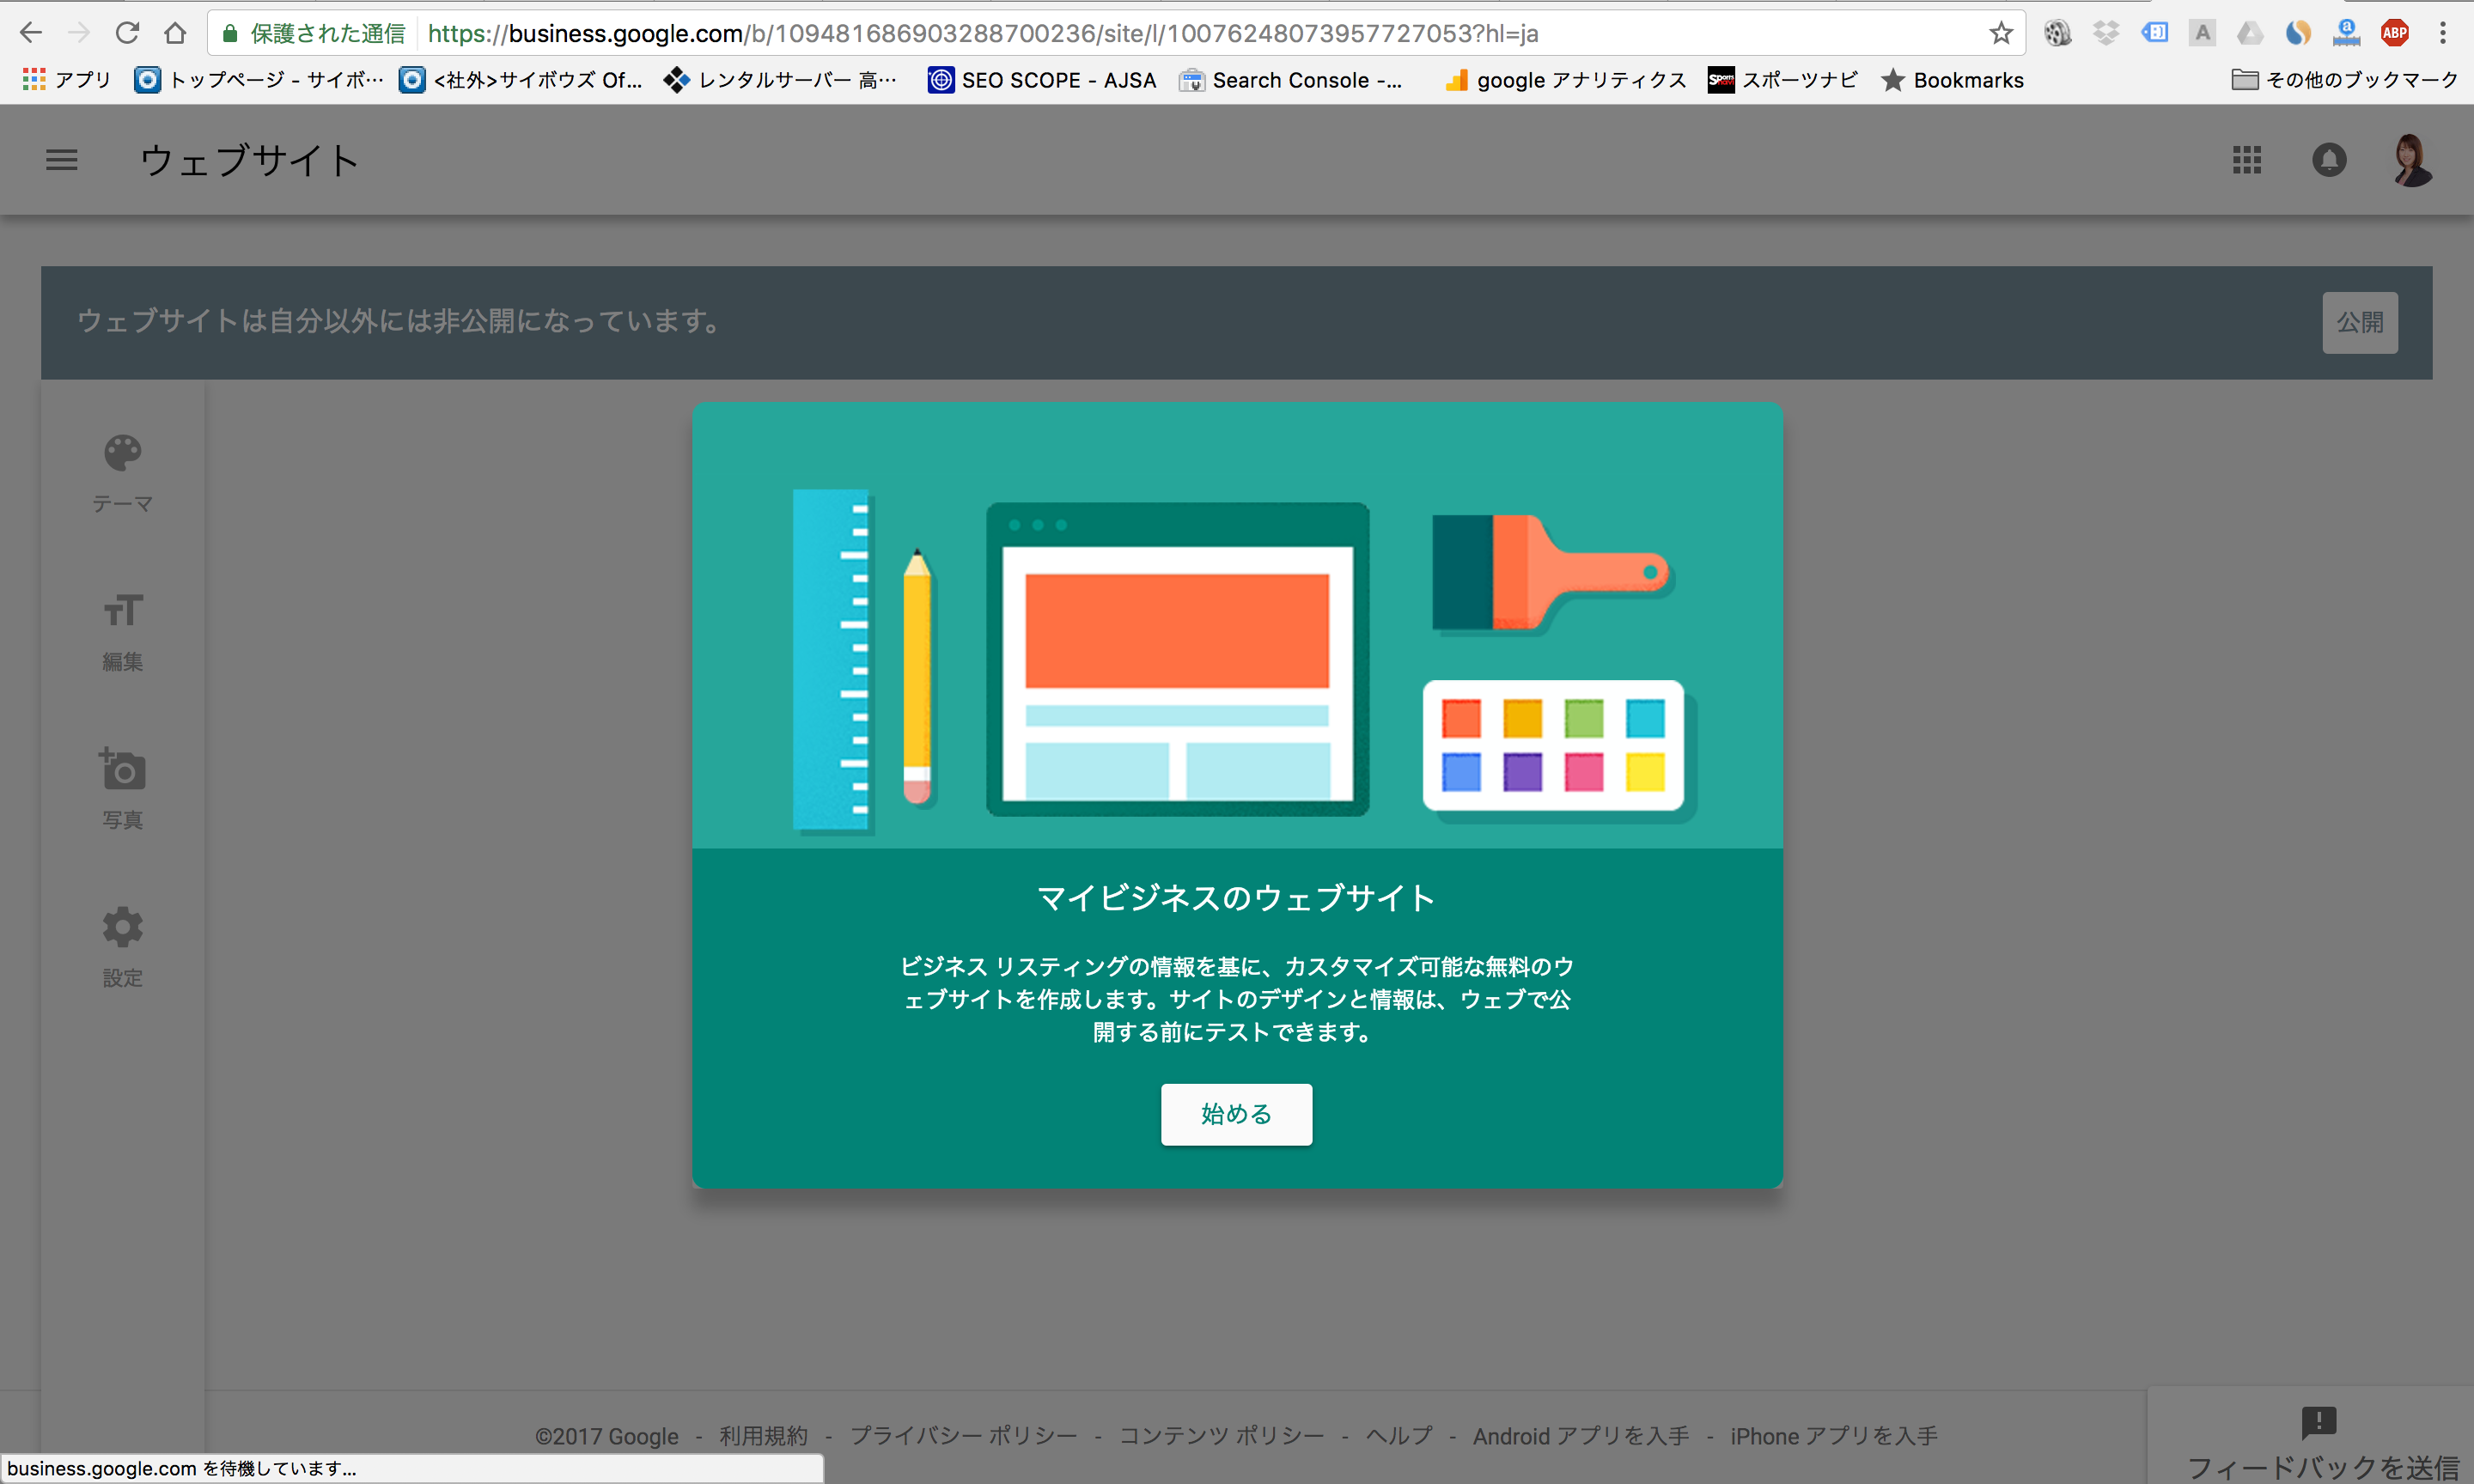
Note that this guidance message is only shown the first time you click the [Website] menu; it will not appear again afterwards.
After that, you can move ahead easily by simply following the wizard.

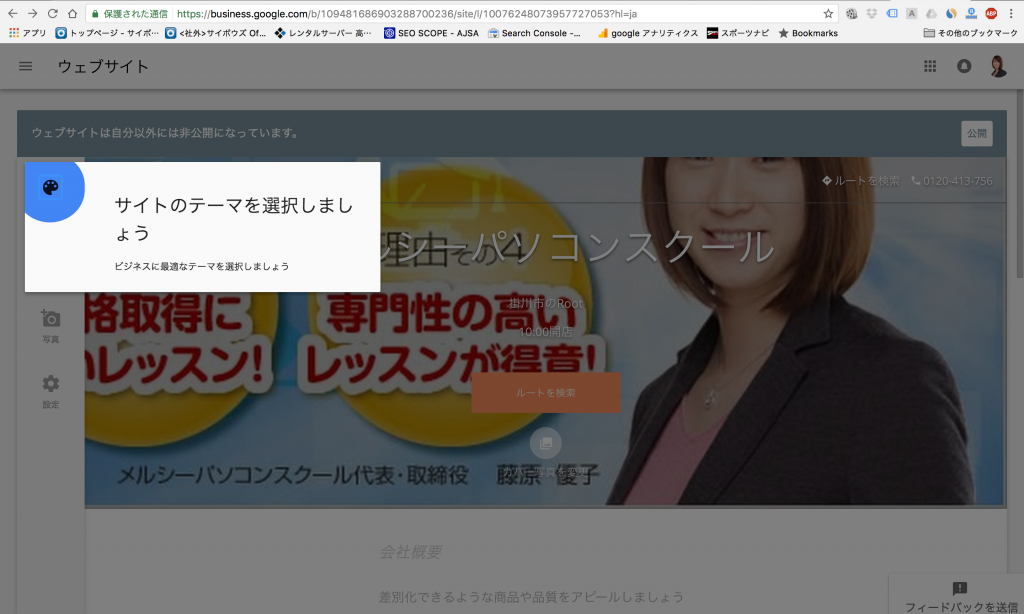
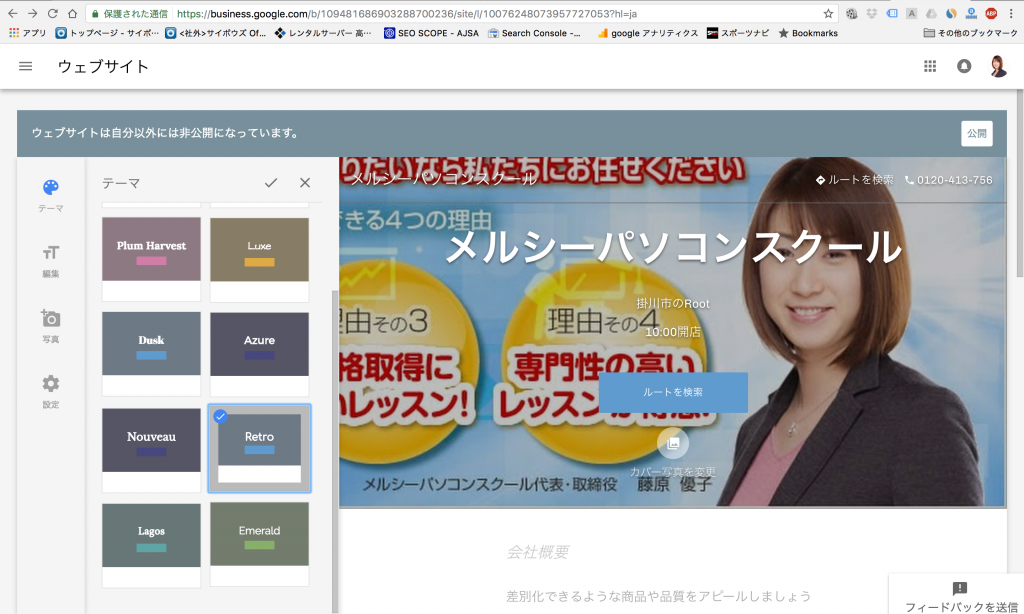
Select a theme for your site. The site theme determines things like the font and colors of your business name and description.
When you select a theme you can check it in the preview, so pick one that suits you. You can change it later, so there's no need to agonize over it.

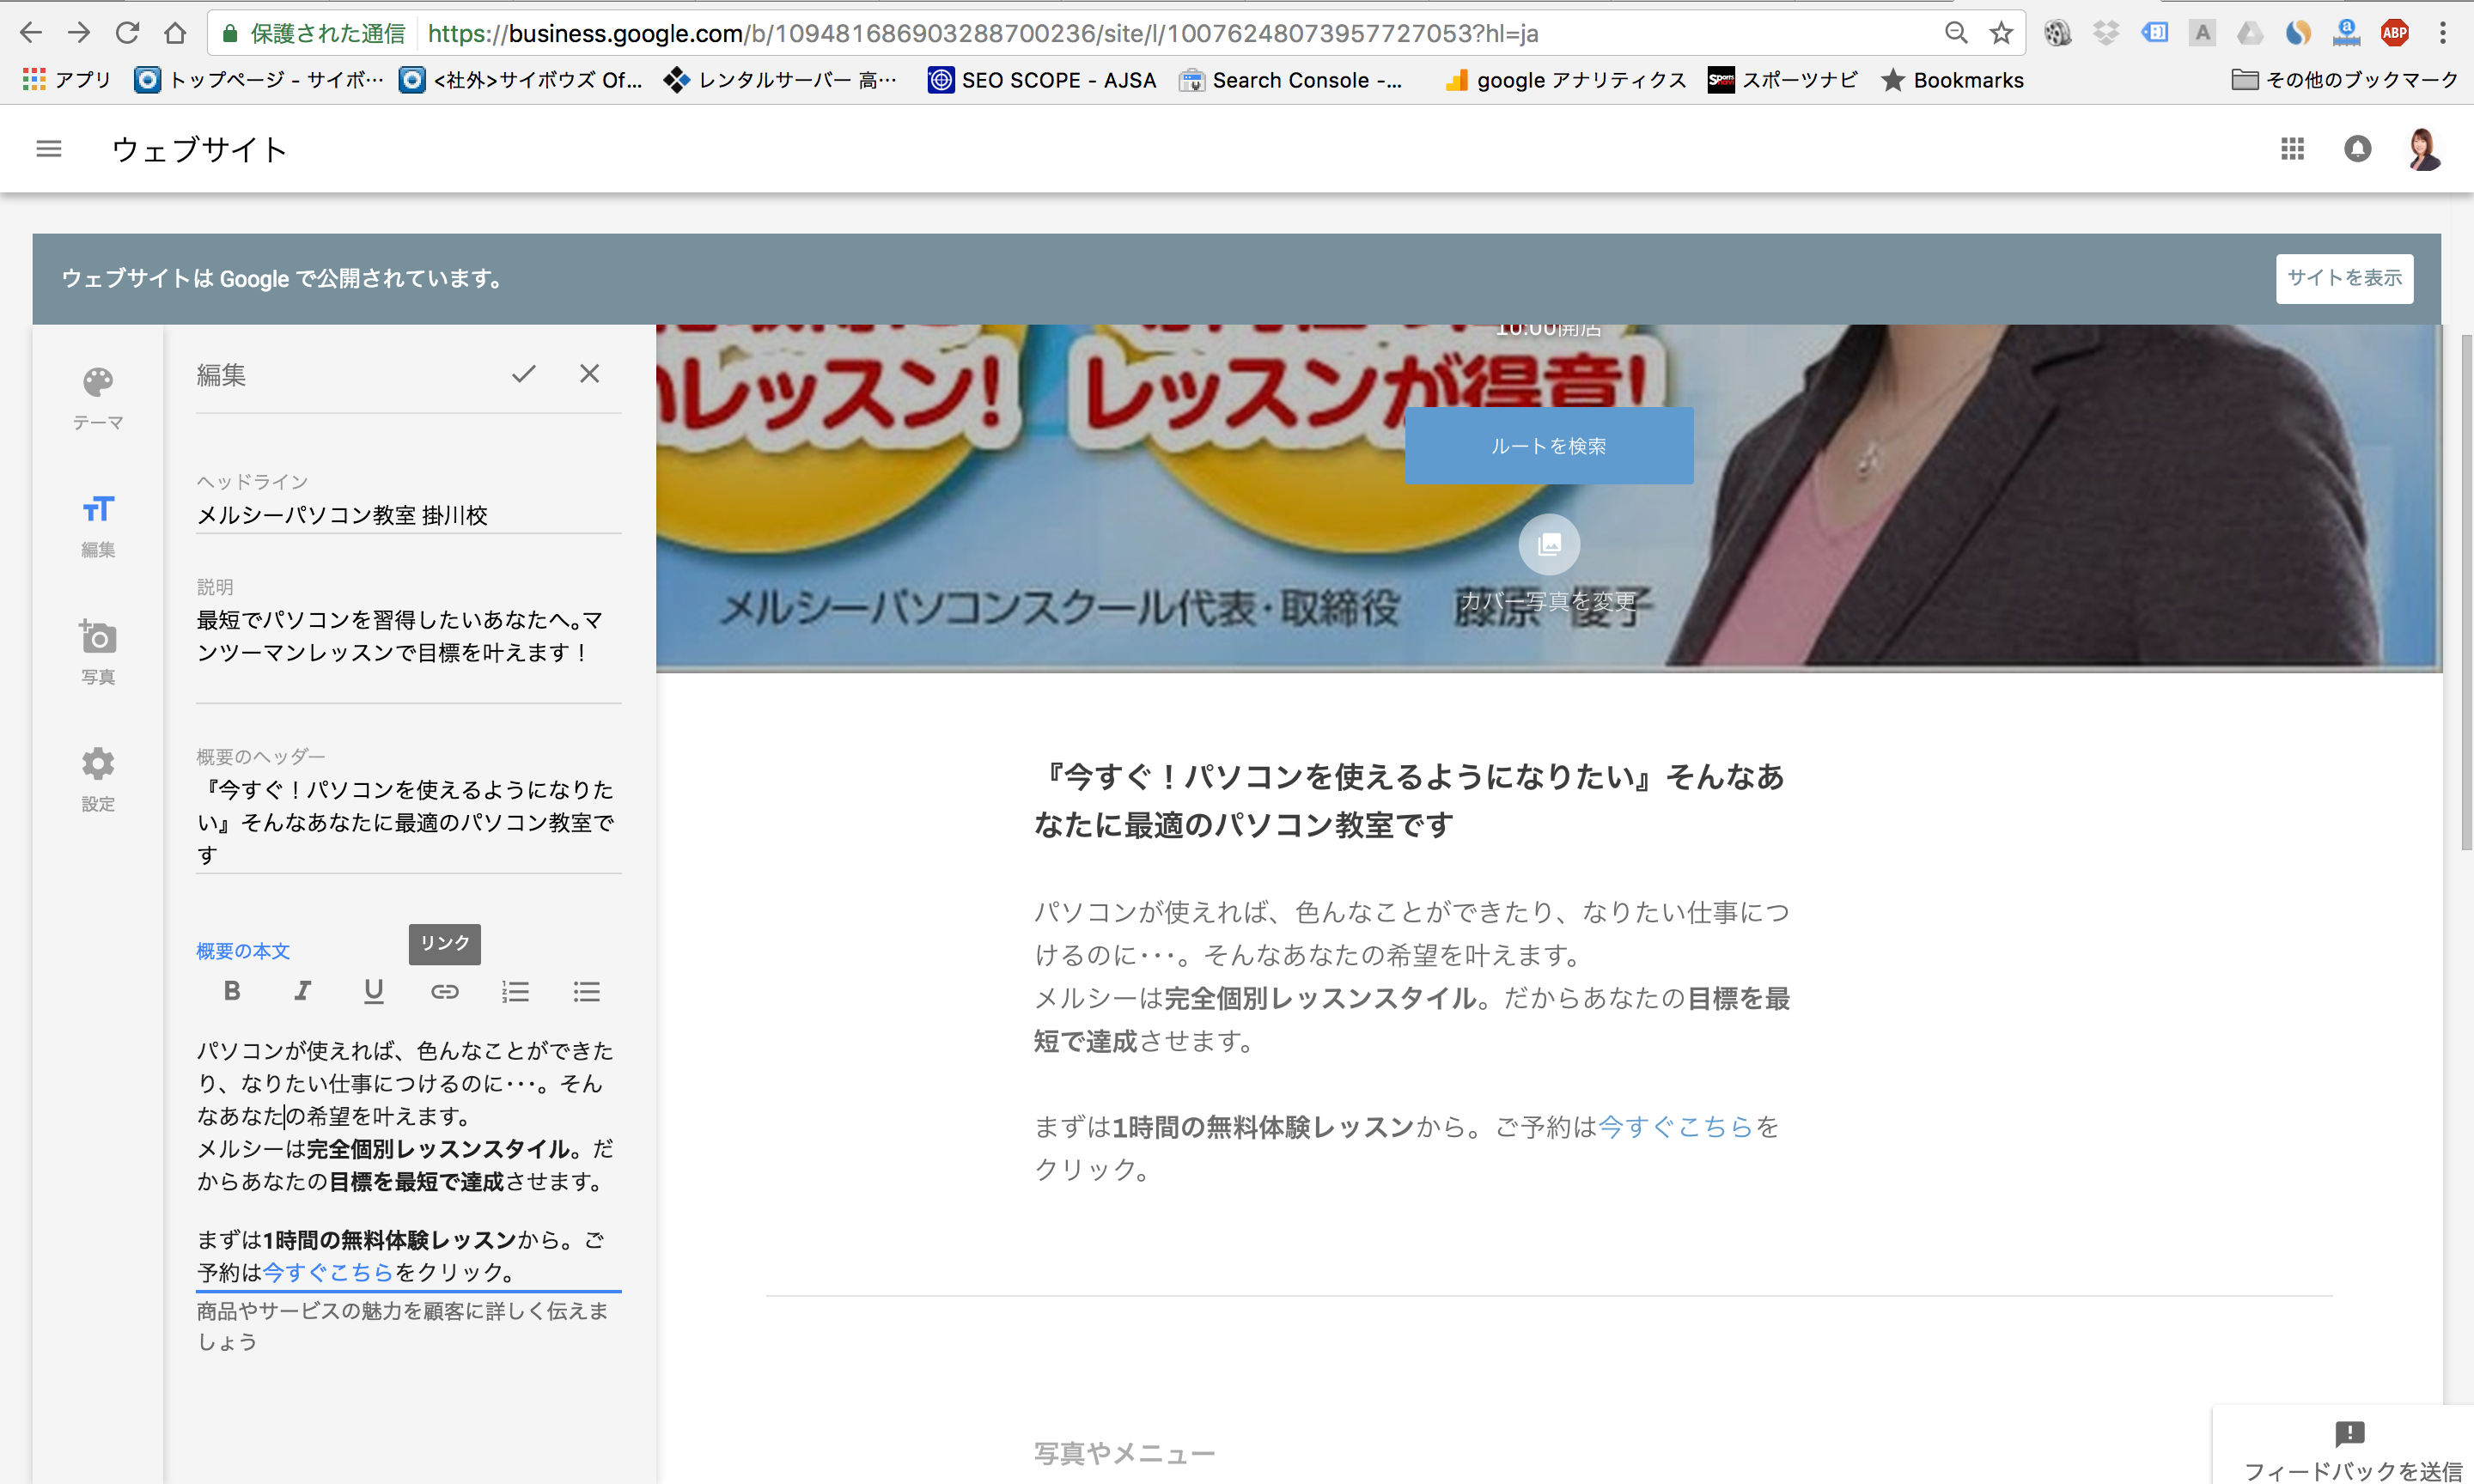
Headline, description, summary header, and summary body
As you fill in each of these items, the changes are reflected in the preview screen on the right in real time, so you can check as you go.
We skipped it this time, but if you click [Change cover photo] in the middle of the preview screen, you can change the image at the top of the page. This is the first thing visitors to your website will see, so you should choose an image that is as attractive and easy to understand as possible.

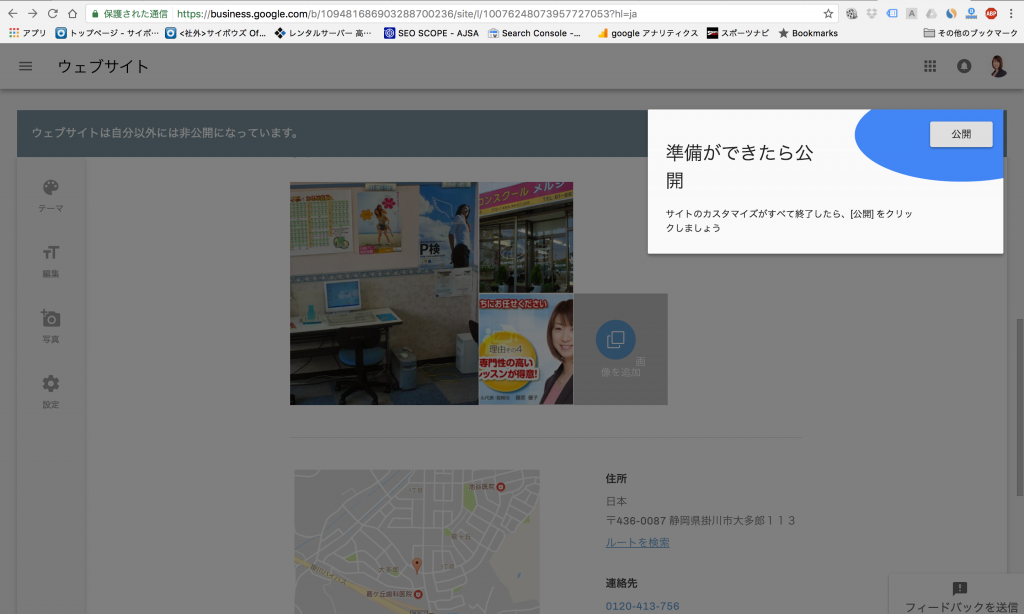
Click the Publish button and you're done!

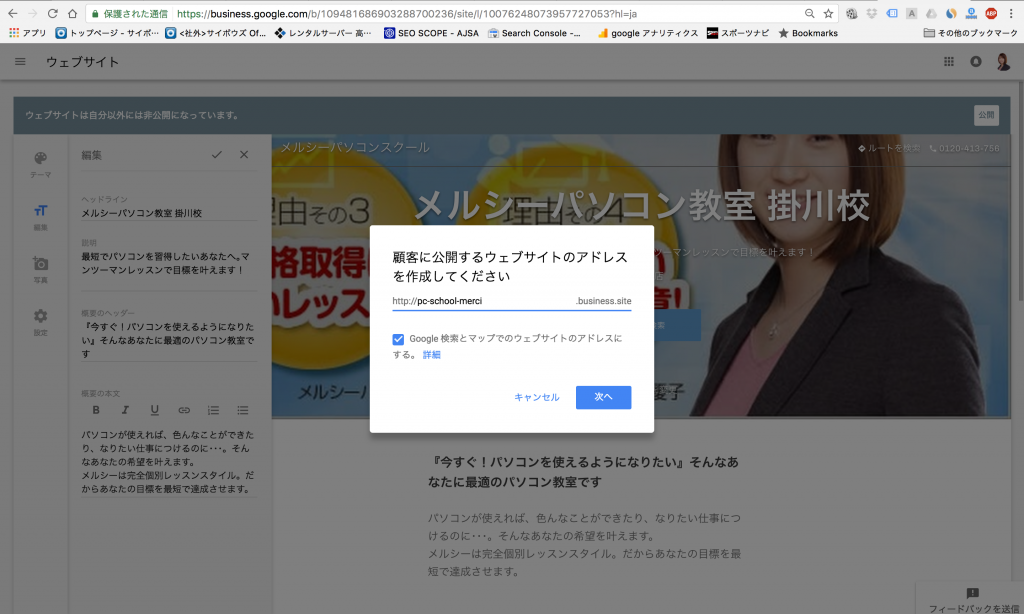
You can change part of your website address to whatever you like.
The part you can change is the 〇〇〇〇 portion of "http://〇〇〇〇.business.site". If it has already been taken, you can't use it. This time, "merci" alone wasn't available, so we went with "pc-school-merci".
Here's what the website we actually made looks like!
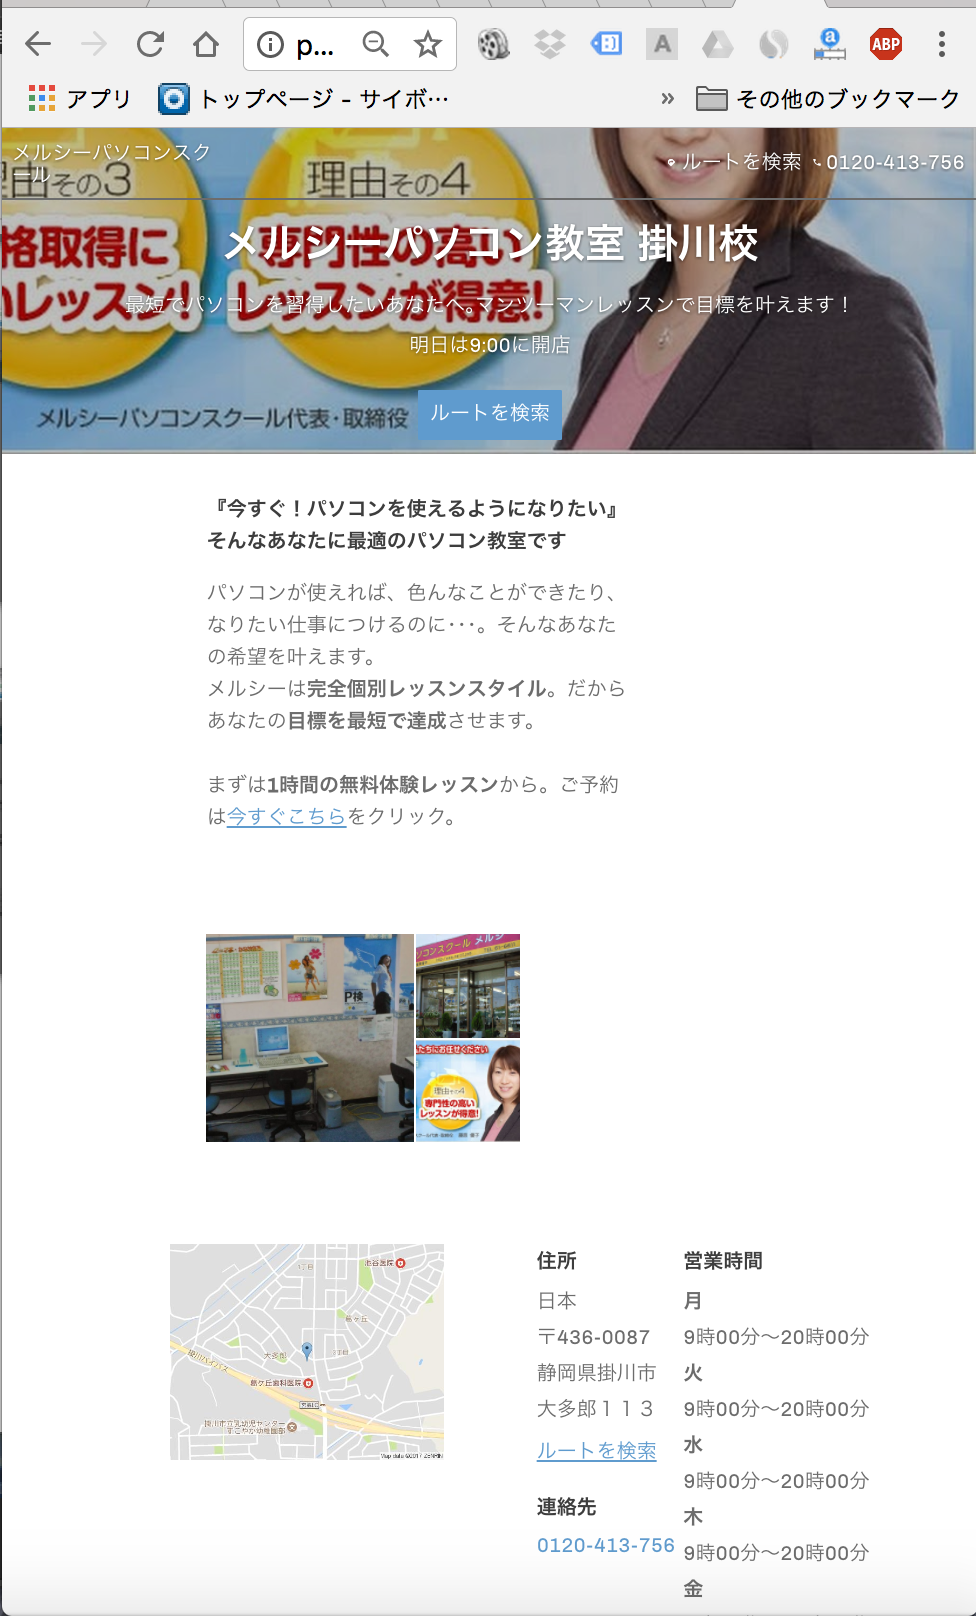
Here is the website we created this time!
That's right, you can only create one page (lol). Since it's a single-page website, this service may feel lacking if you want to post things like menu details or price lists.
That said, if you're someone who just wants to start somewhere, this service is so easy that you should definitely give it a try.


