


There are times when you want to migrate your entire published WordPress site, such as when changing the hosting (server) you're contracted with.
Let us introduce how to do it in such cases.
[Work to do on the pre-migration site] Update WordPress to the latest version


Check the versions of your WordPress system and plugins. When you set things up on the new host, you will normally be installing the latest version.
If the versions differ before and after the migration, it can cause problems.
Update the system to the latest version before migrating and confirm that everything works.
Export (back up) your content from the WordPress dashboard


Click through in this order: [Tools] → [Export] → [Choose what to export: "All content"] → [Download Export File].

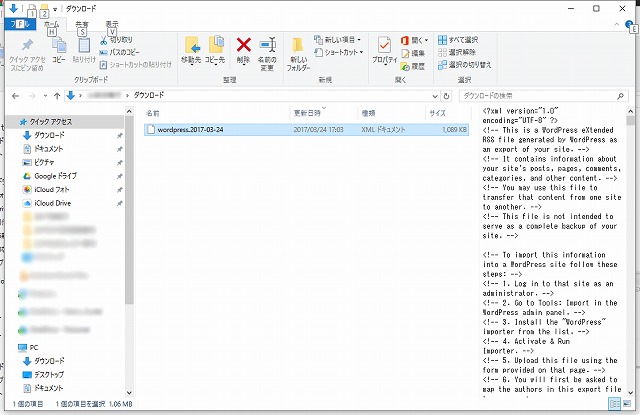
The file will be downloaded locally with a name like wordpress.yyyy-mm-dd (date).xml.
Access the FTP server and download (back up) the data in "wp-content"


Use an FTP client to access the FTP server. *Here we are using Adobe DreamWeaver.
The user files used by WordPress are normally stored in "wp-content". Download this entire folder.
It is also a good idea to download every folder on the site. That is because if files are stored in folders other than "wp-content", you will need those files too.
That covers all the work you should do on the server before migrating.
Once you have done this, change the name servers for your domain so that the new server becomes available for use.
Then install WordPress.
When installing WordPress, it is best to install it in the same directory as before if possible.
Normally WordPress is installed in a directory such as "xxx.com/wp" (root > wp).
If that is your setup, just do the same; if the folder name or directory level has been changed, it is best to match the settings used before the migration.
[Work to do on the site after migration] Access the FTP server and upload the data into "wp-content"
From here on, you follow the reverse of the steps you took on the pre-migration site.
Connect to the FTP server of the new site and upload the data into the "wp-content" folder of the WordPress installation.
Activate the theme you have been using


In the dashboard, go to [Appearance] → [Themes] → [select the theme you were using] → [click Activate].
Import the content you backed up


Upload the content file (wordpress.yyyy-mm-dd.xml) that you exported (backed up) before the migration.
In the dashboard, follow these steps: [Tools] → [Import] → [WordPress] → [Run Importer] → [Choose File] → [browse to the backed-up xml file] → [Upload file and import].


That completes the migration ♪


